Google Flow Video Tutorial 2026 — Watch and Learn: Your First AI Video Start to Finish
This is a complete Google Flow video tutorial — meaning we’re not just explaining what buttons do, we’re walking through the entire process of making one real video from a blank screen to a finished, downloadable clip with sound.
If you’ve never generated an AI video before, this is exactly where to start. By the end, you’ll have made your first Google Flow AI video — complete with native audio from Veo 3.1 — and you’ll understand every step well enough to do it again on your own.
No prior experience needed. Let’s begin.
What You Need Before Starting This Tutorial
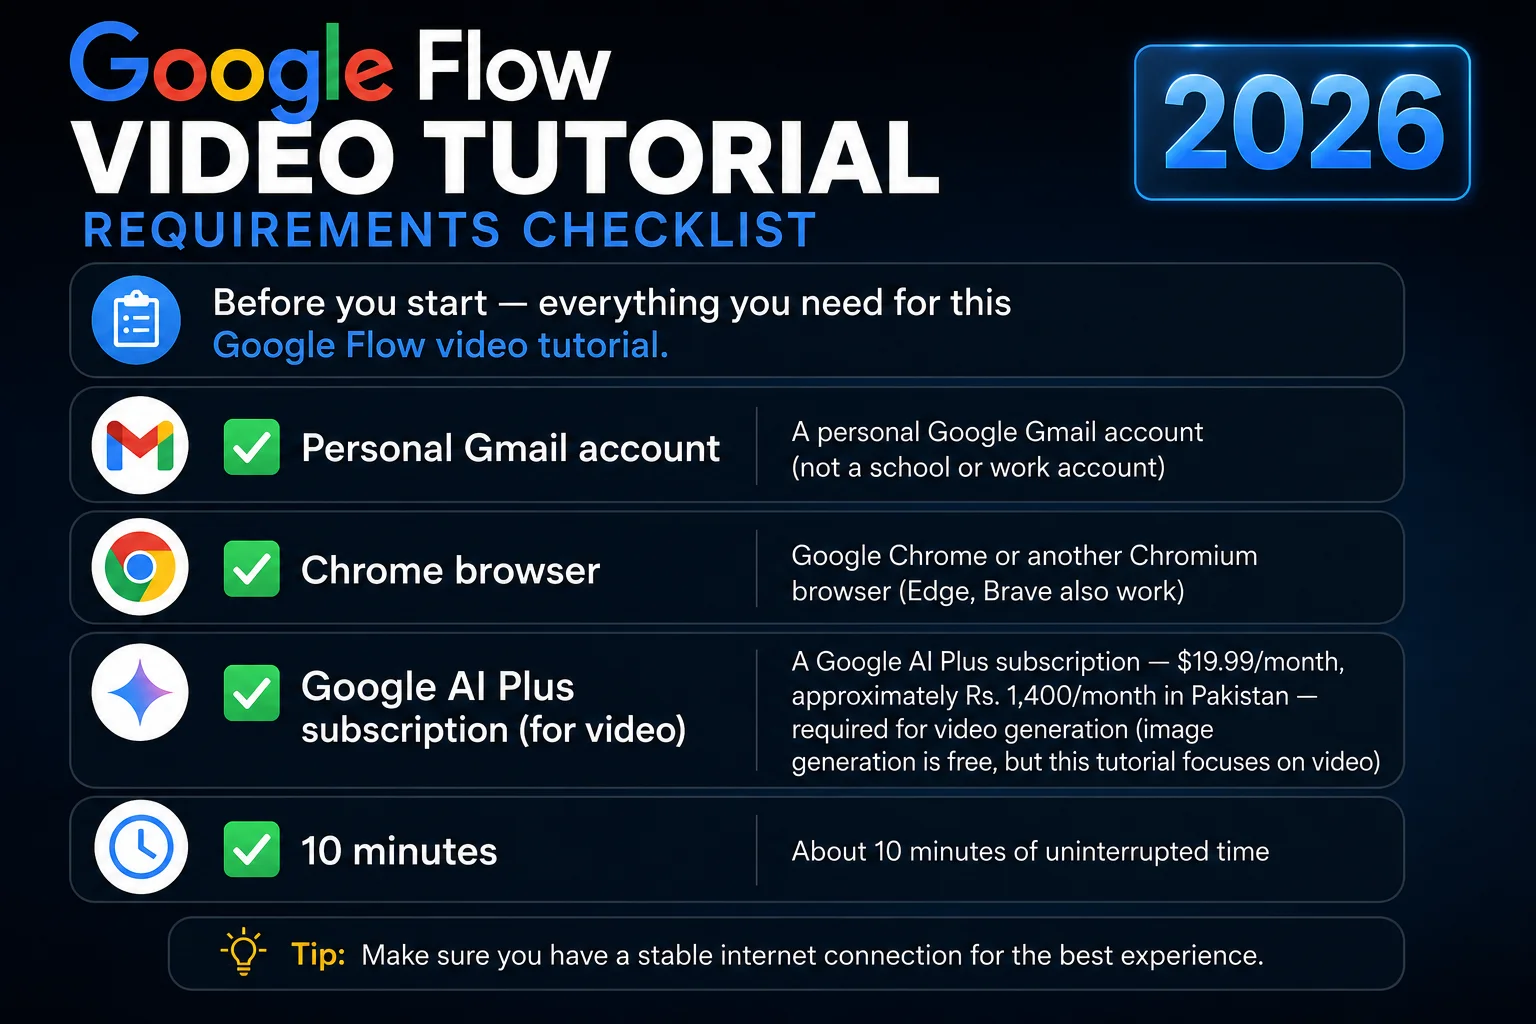
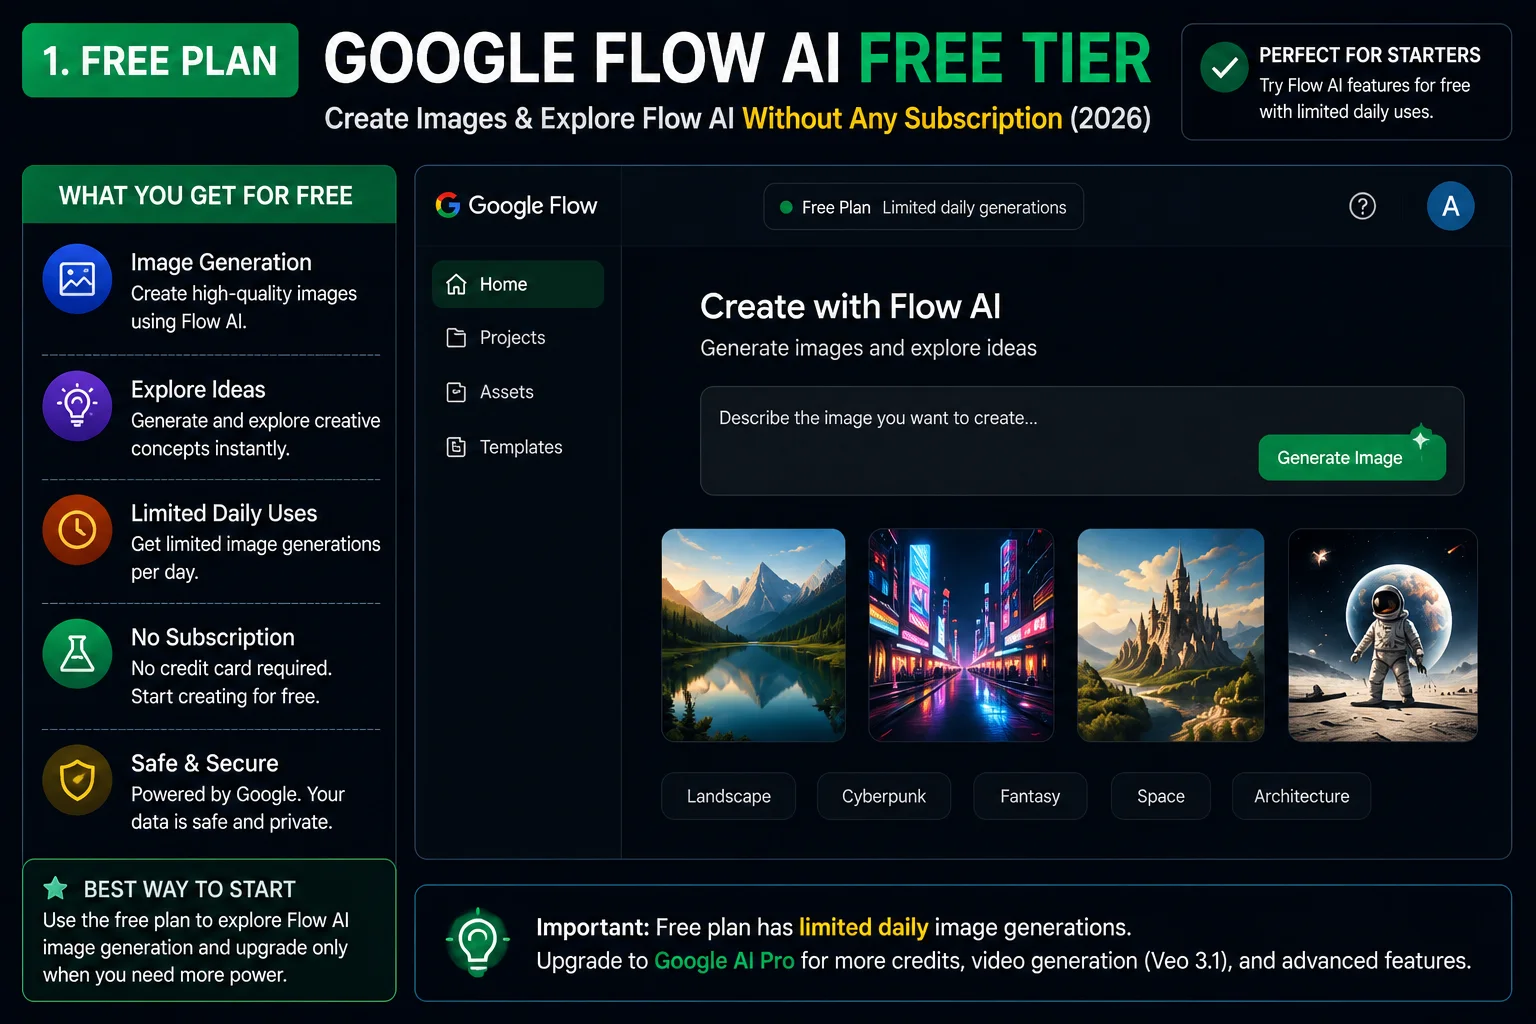
If you only want to practice with free image generation first before committing to a subscription, that’s a smart approach — see our Google Flow AI Tutorial for the image-first walkthrough.
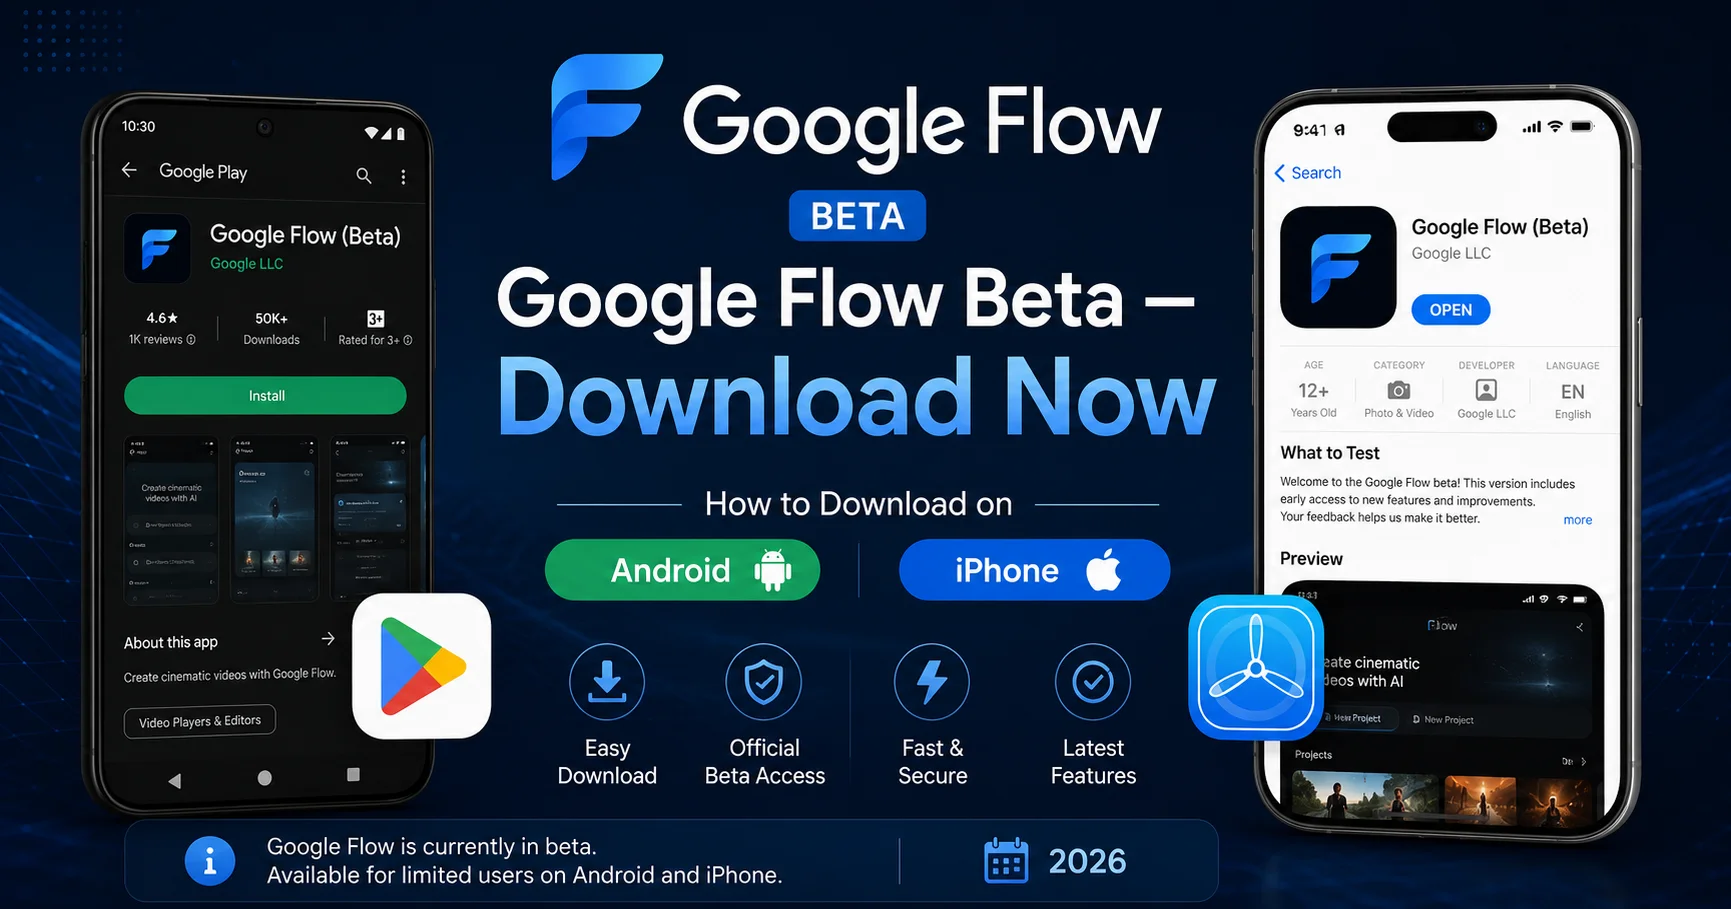
Step 1 — Open Google Flow AI
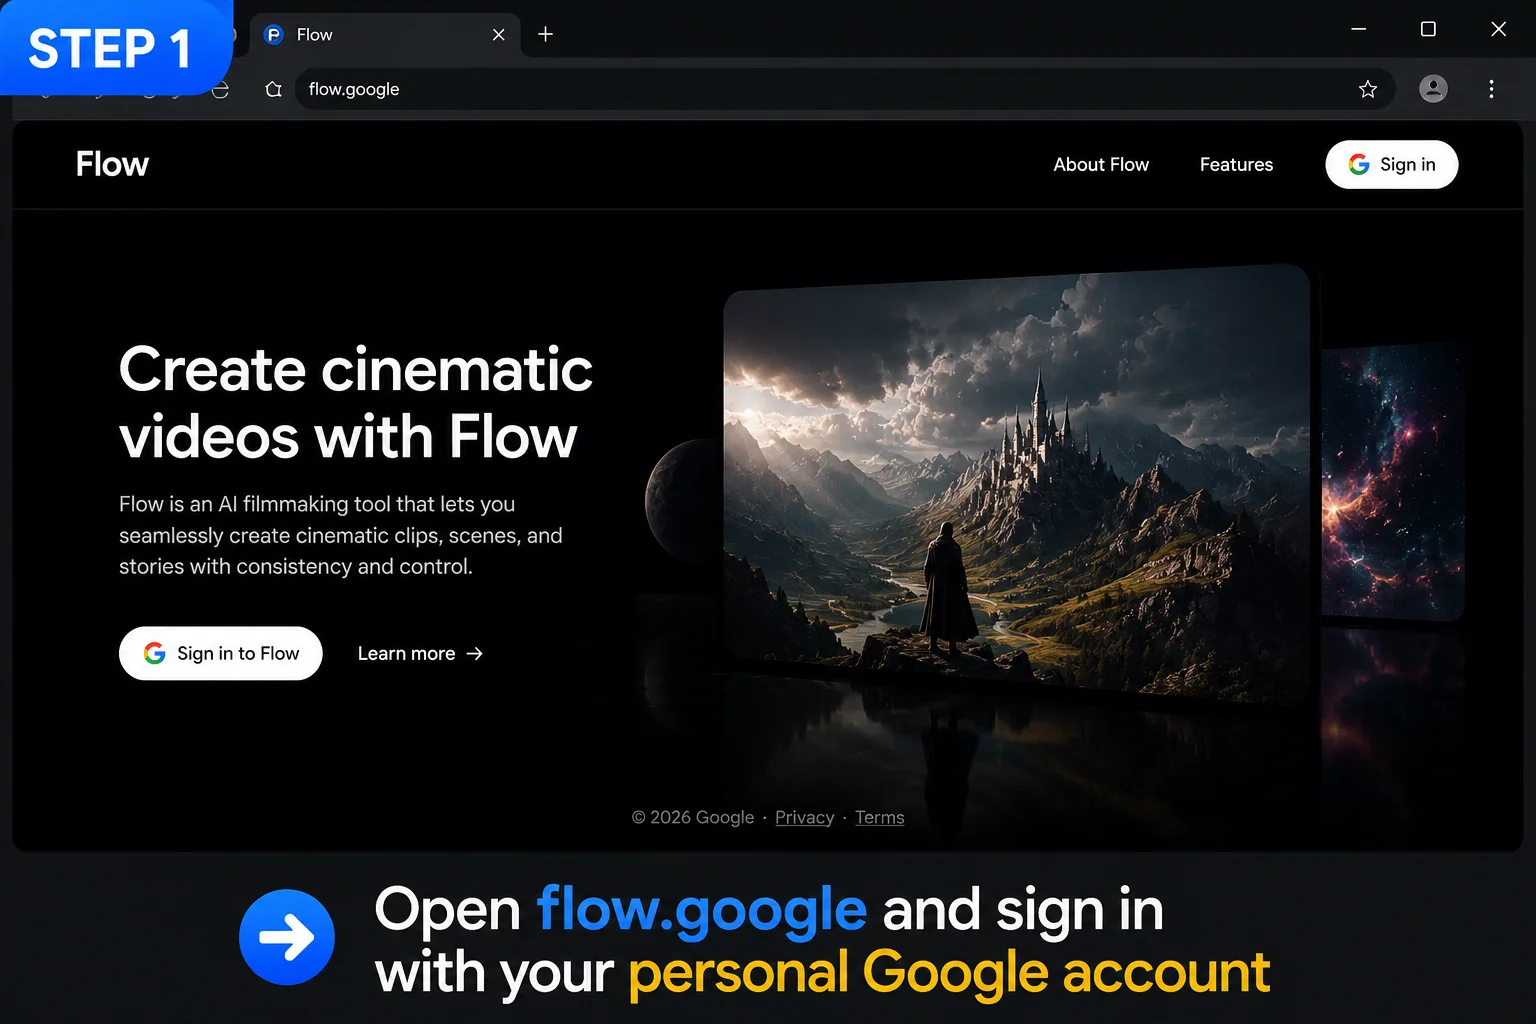
Open your browser and go to flow.google. This is the official, direct URL — bookmark it now since you’ll be coming back often.
Click Sign In in the top right and log in with your personal Gmail account. If this is your first time, Google may ask you to confirm your account is set to 18+ — Flow AI requires age verification, which you can check at myaccount.google.com under Personal Info.
Step 2 — Switch to Video Mode
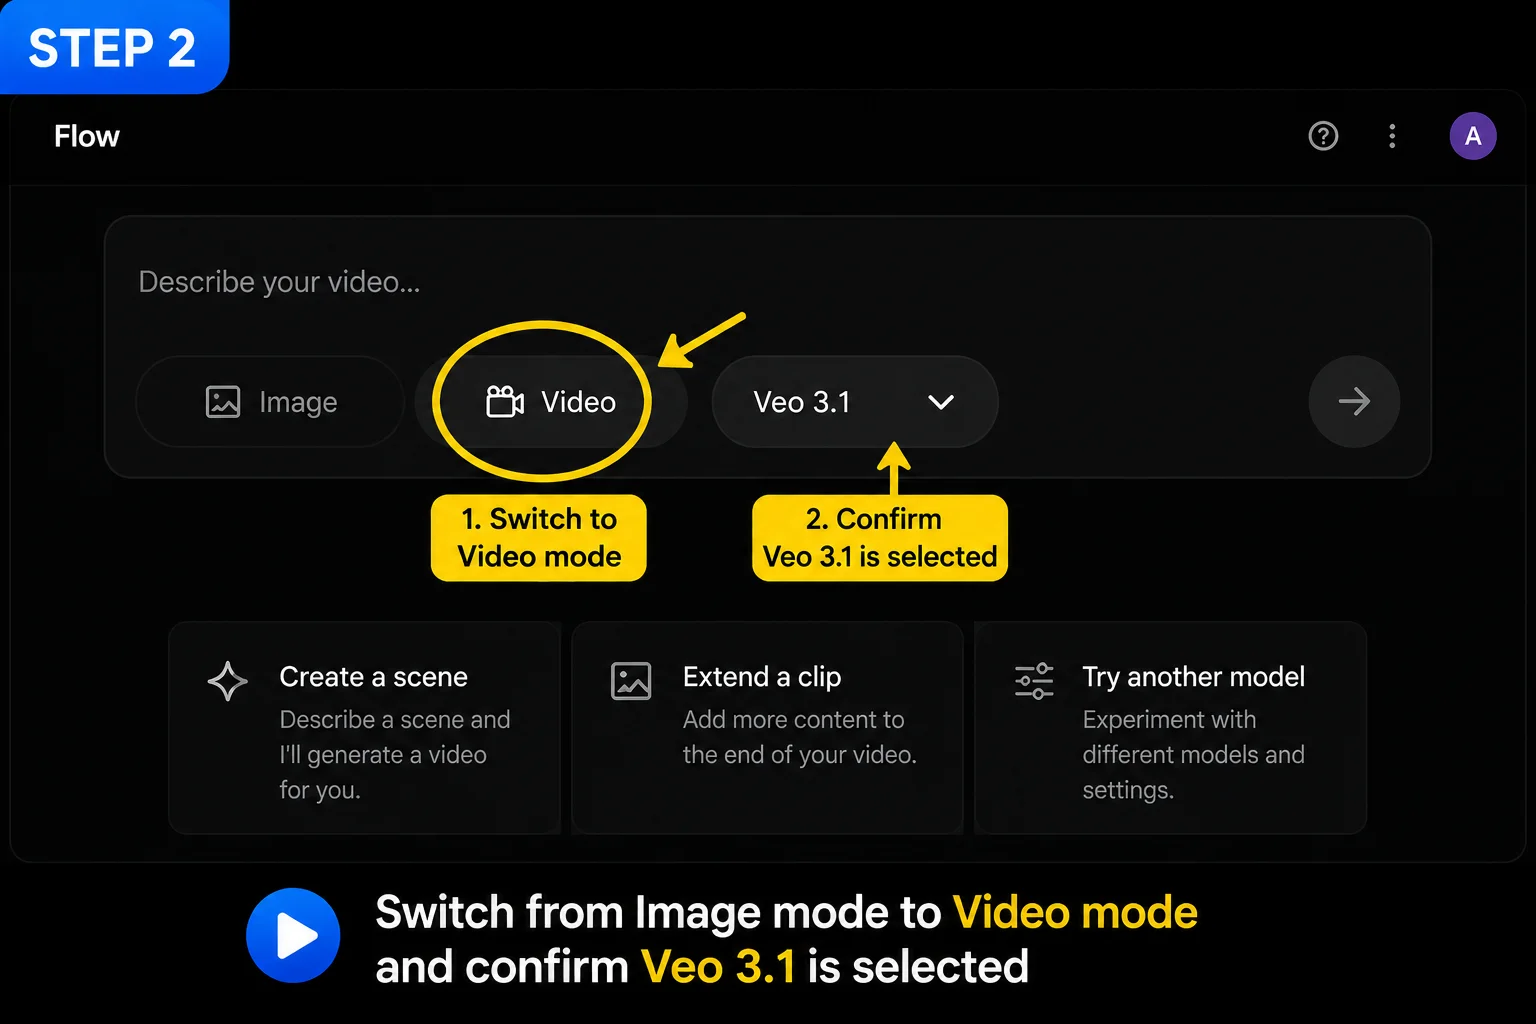
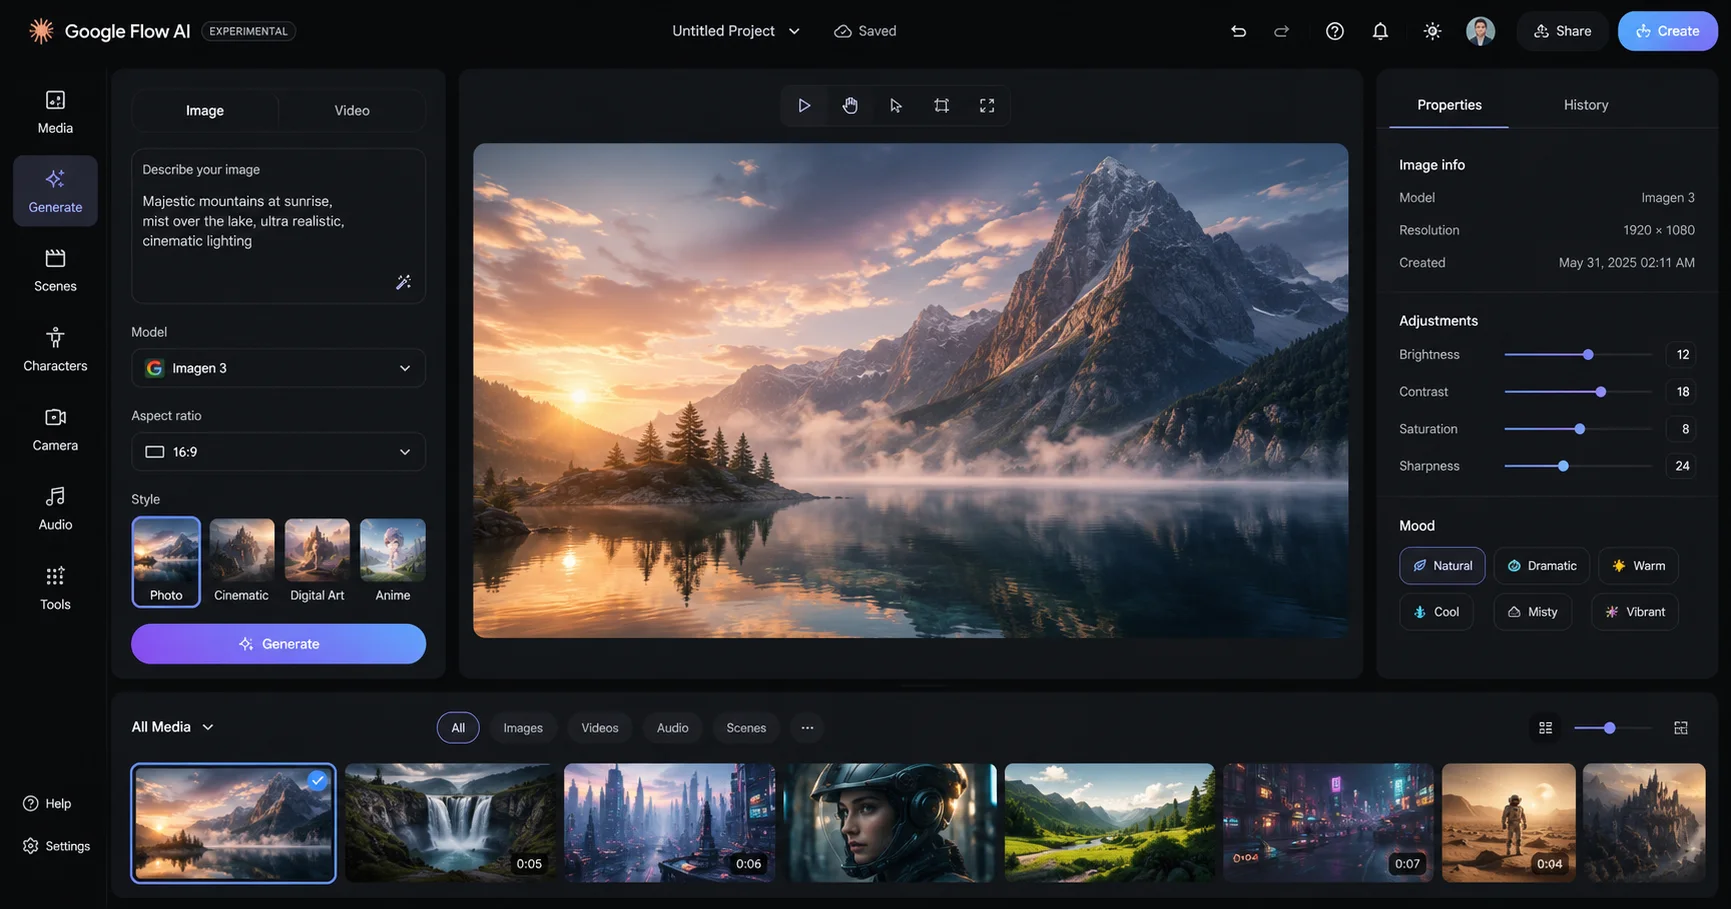
By default, Flow AI often opens in Image mode. Look for the mode toggle near the prompt bar and switch it to Video.
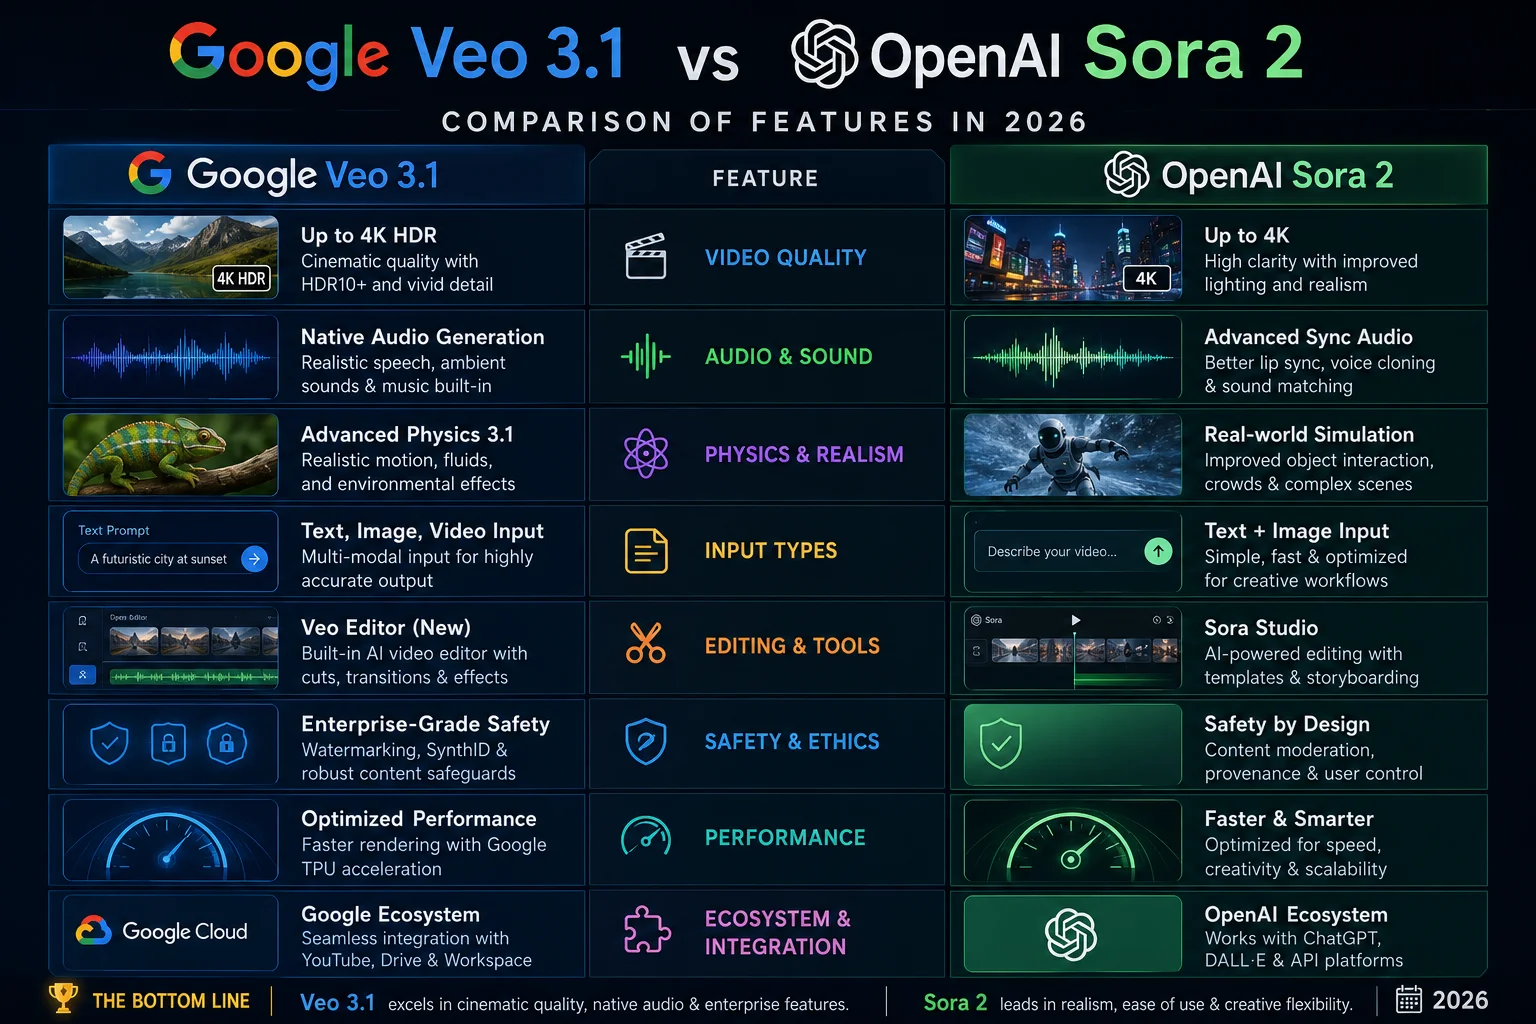
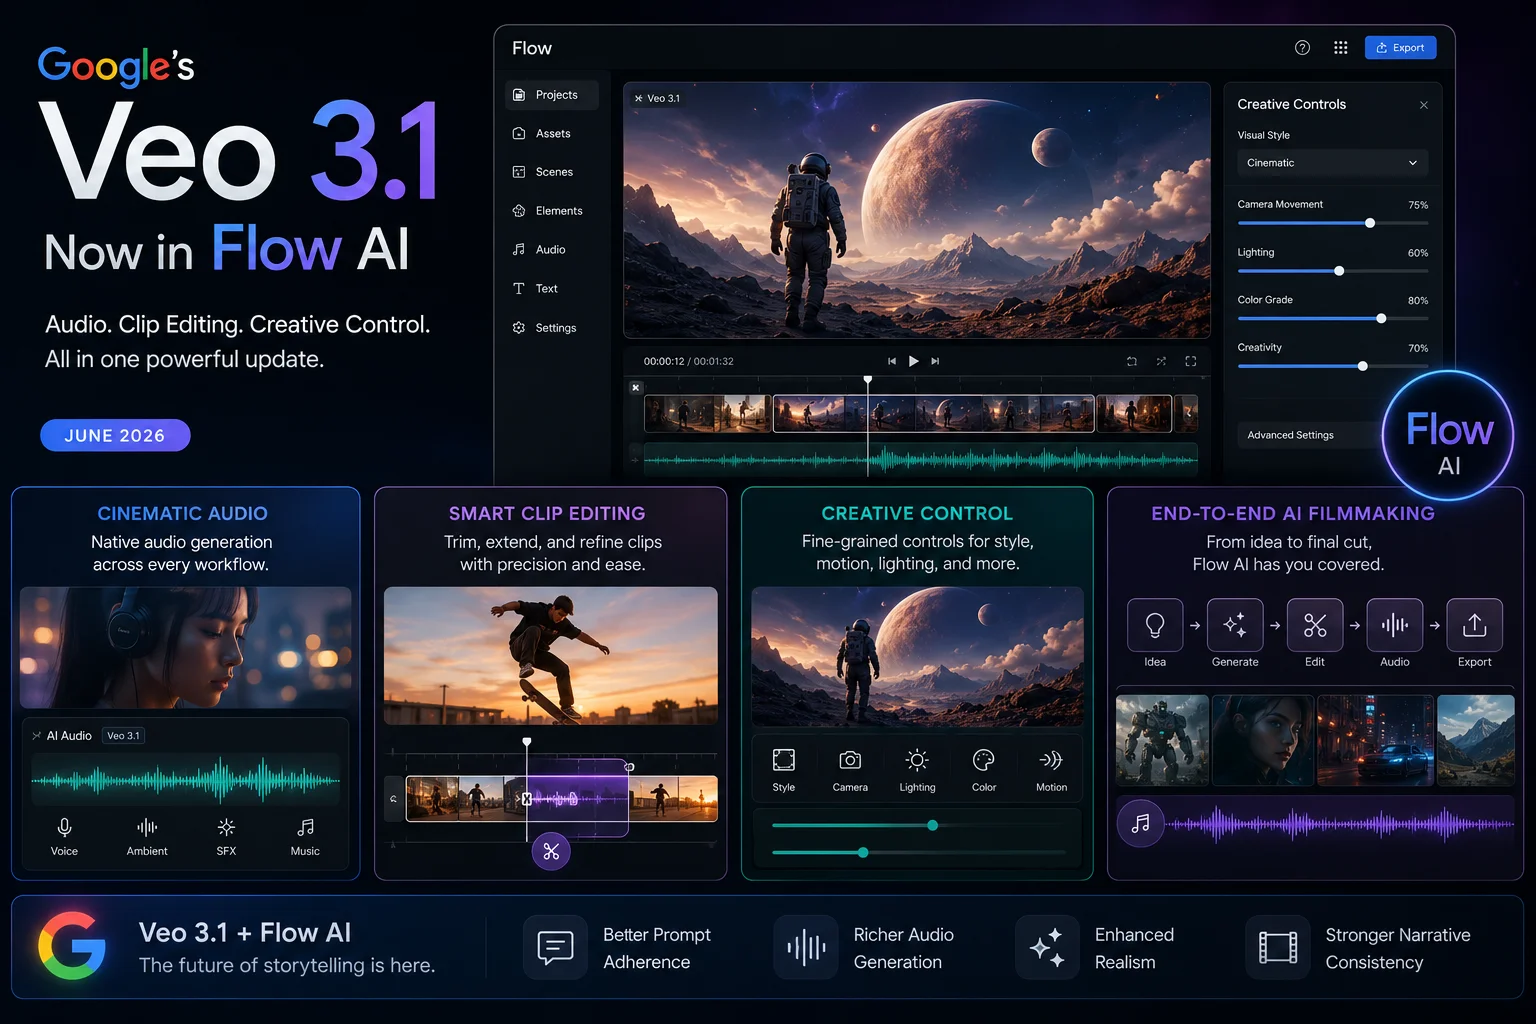
Once in Video mode, check the model selector — make sure Veo 3.1 is selected (not Veo 2 or any other option). Veo 3.1 is the model that generates native audio alongside your video, which is the feature that makes Flow AI’s video output genuinely different from most competitors.
Step 3 — Write Your First Video Prompt
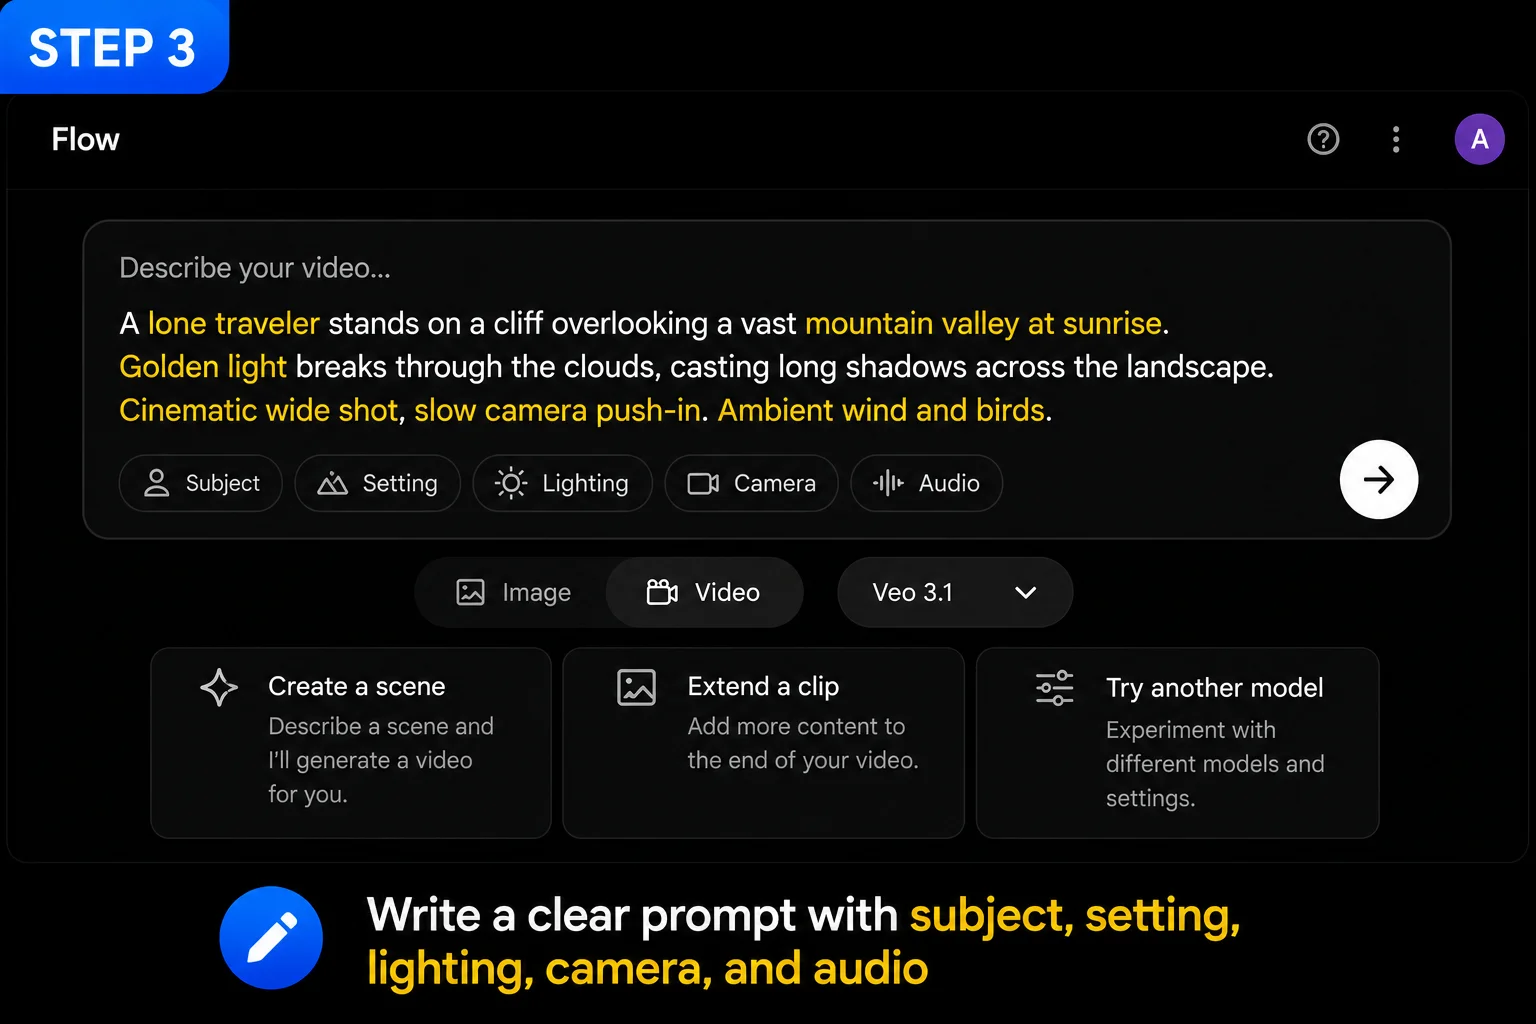
For your first video, use a simple, well-structured prompt. Copy this exact example to follow along:
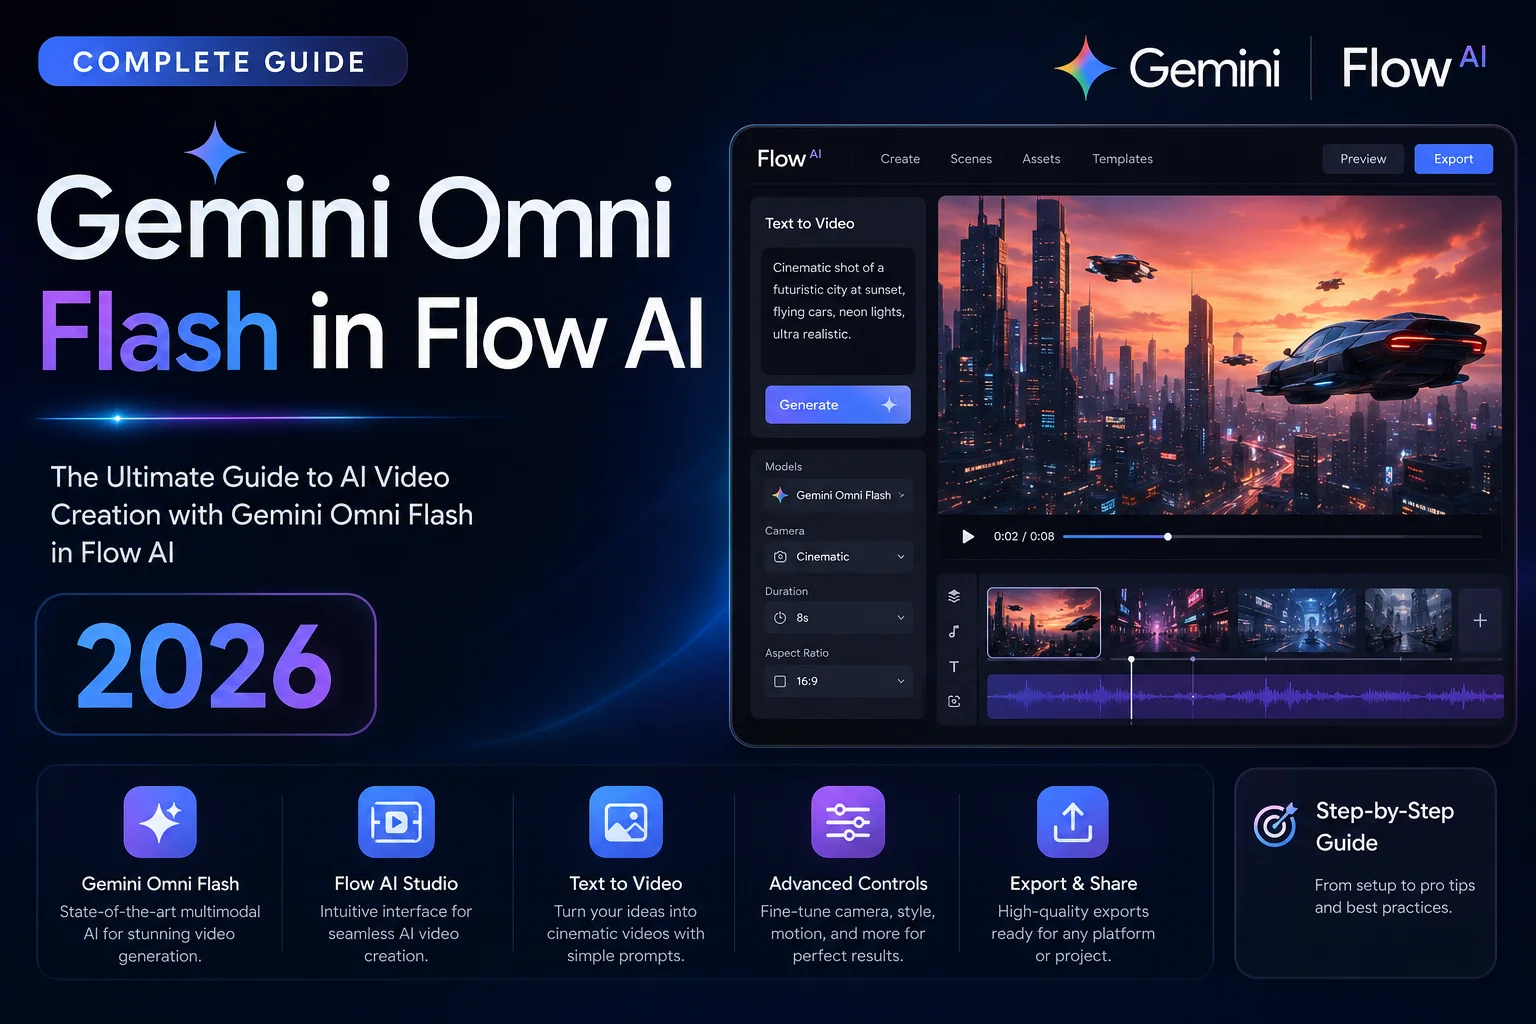
“A cup of steaming chai on a wooden table by a window, morning sunlight streaming in, camera slowly pushing in toward the cup, with the gentle sound of birds outside and quiet morning ambience”
Notice the structure — this single sentence includes a subject (cup of chai), a setting (wooden table, window, morning), lighting (sunlight streaming in), camera direction (slowly pushing in), and an audio cue (birds, quiet ambience). This four-part formula is the foundation of every strong Flow AI prompt.
For 100+ more ready-to-use examples organized by category, see our Best Google Flow AI Prompts guide.
Step 4 — Check Your Settings Before Generating
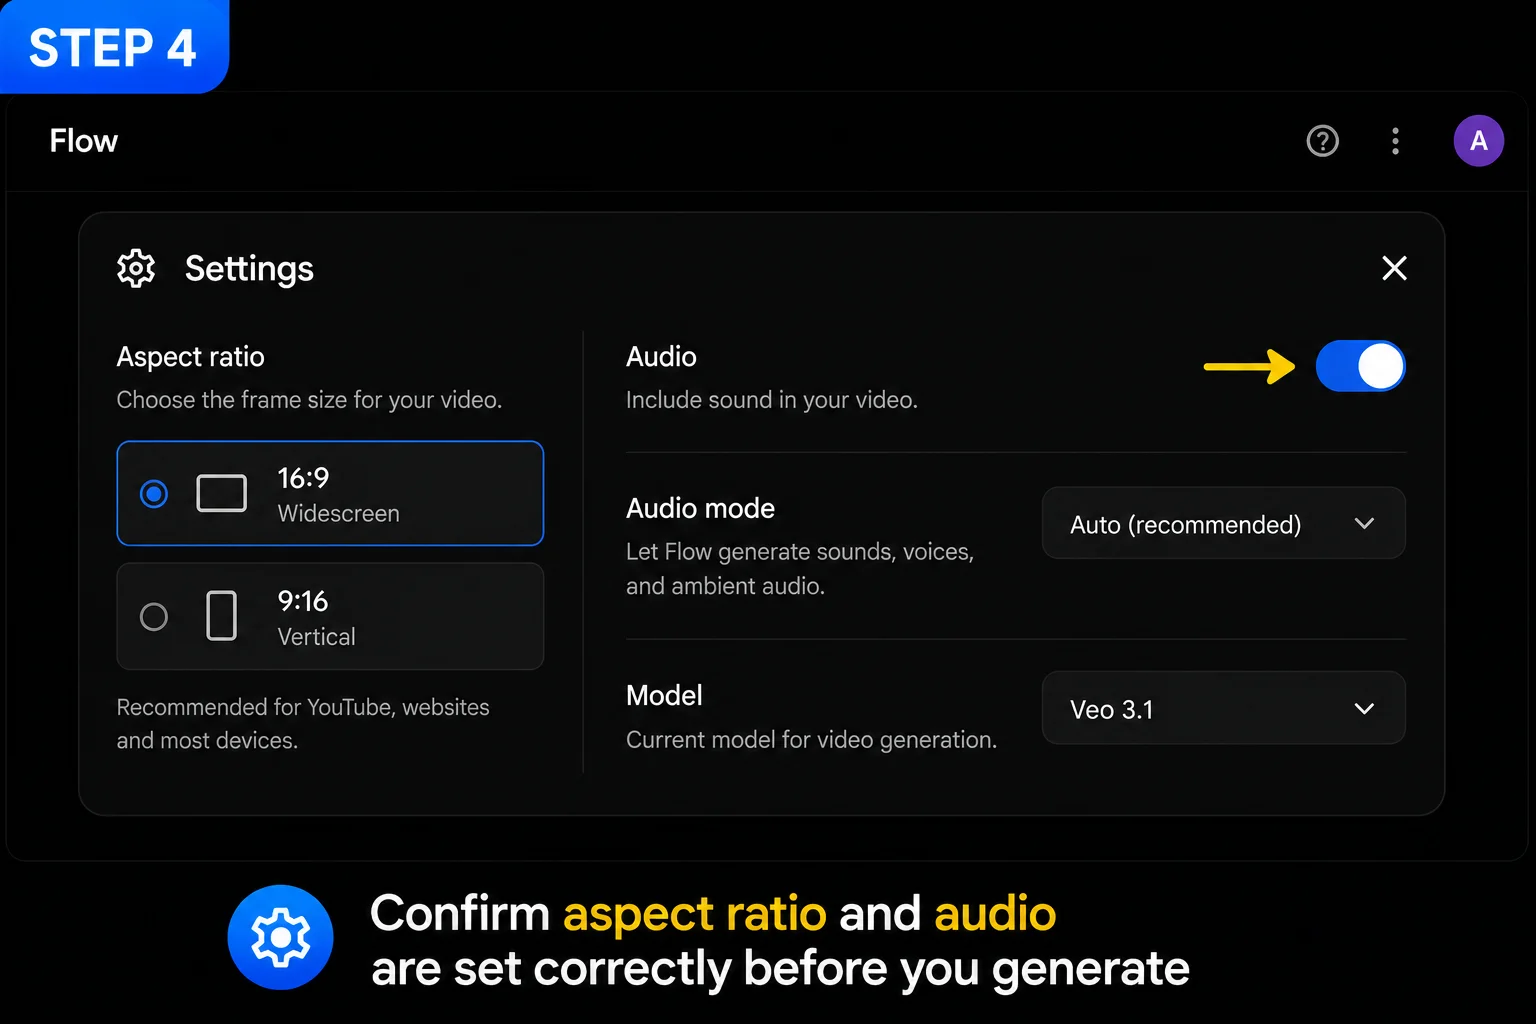
Before clicking Generate, glance at two settings:
Aspect ratio: Choose 16:9 for YouTube or landscape content, or 9:16 for Instagram Reels, TikTok, and YouTube Shorts. For this tutorial, either works — pick whichever matches where you plan to post it.
Audio toggle: Make sure audio generation is switched on. It’s on by default with Veo 3.1, but it’s worth a quick check, especially since this is the feature that makes your video feel complete without any separate editing software.
Step 5 — Generate Your Video
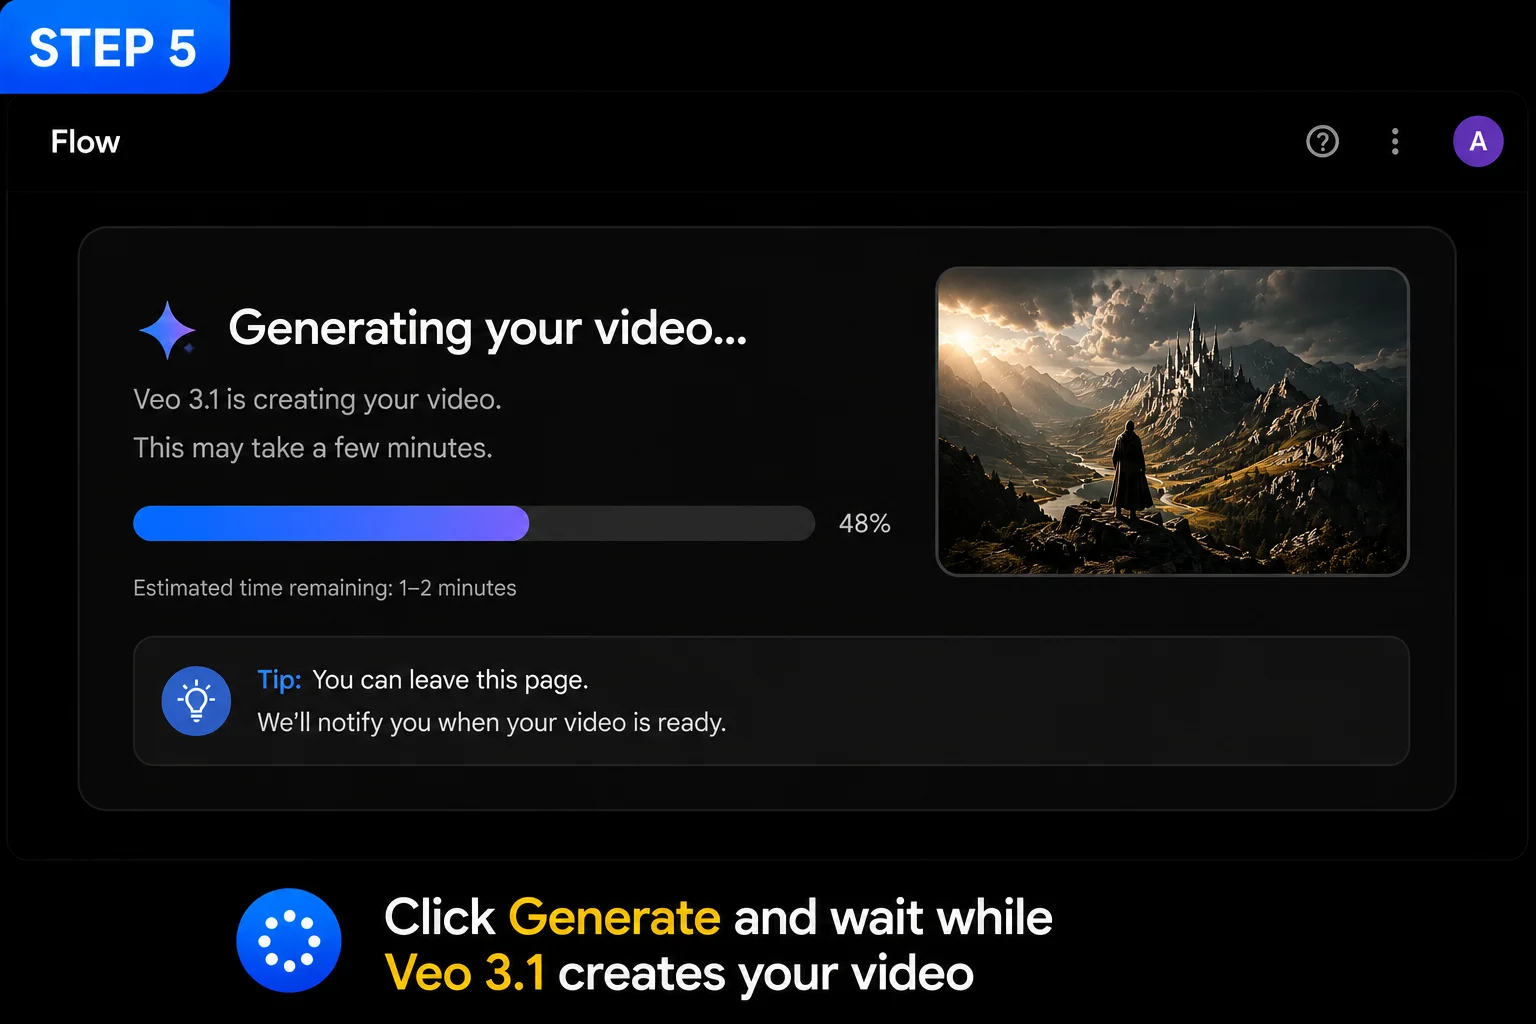
Click the Generate button. Video generation typically takes 30 seconds to 2 minutes, depending on server load and the complexity of your prompt.
Don’t close the browser tab while it’s processing. If you want to do something else while waiting, the mobile app sends a push notification when your video is ready, letting you step away entirely.
Step 6 — Watch Your Result and Listen to the Audio

When your video finishes, click to play it — and make sure your sound is on. This is the moment that surprises most first-time Flow AI users: the audio isn’t something you add afterward. It was generated by Veo 3.1 alongside the visuals, matching the mood and content of the scene automatically.
For the chai prompt above, you should hear gentle ambient sounds — birds, quiet morning atmosphere — synchronized with what’s happening on screen.
If something doesn’t look or sound right: that’s completely normal for a first attempt. AI generation has variability, and getting comfortable with prompt adjustment takes a little practice. If your video comes back silent specifically, double check the audio toggle was on — see our Veo 3.1 update guide for everything about how the audio system works.
Step 7 — Refine With the Editing Tools (Optional)
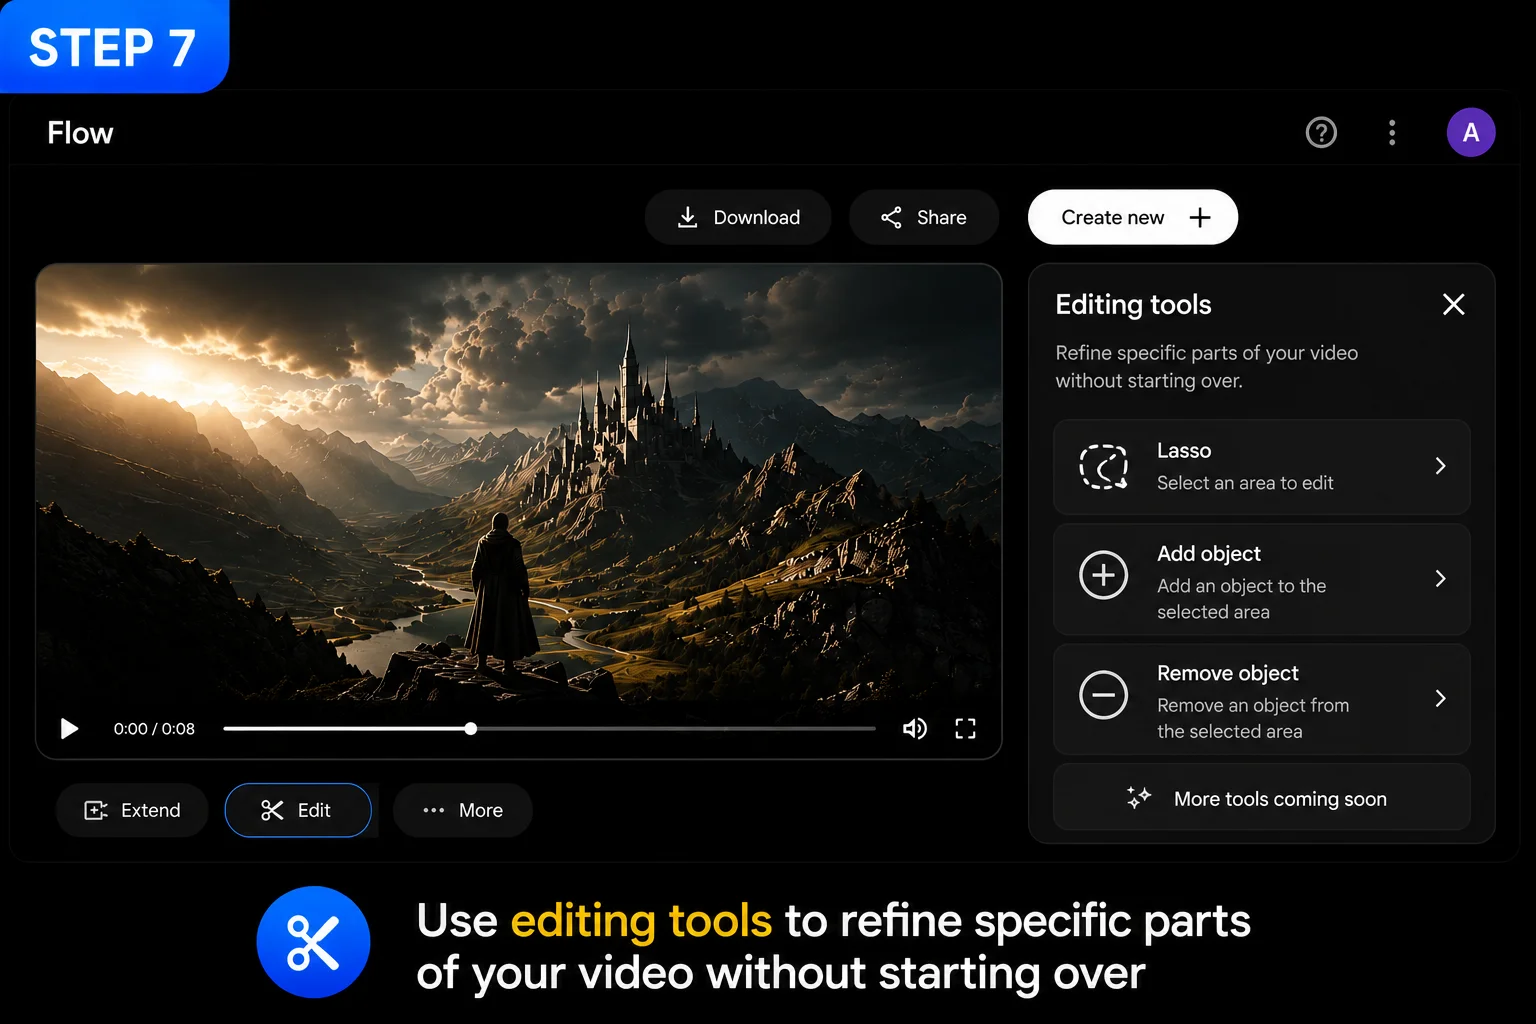
If your video is 90% right but one detail is off, you don’t need to regenerate from scratch. Flow AI’s editing tools let you make targeted fixes:
- The Lasso Tool lets you select a specific area and describe exactly what should change there
- Add Object and Remove Object handle whole elements you want to insert or delete
- Scene Extension lengthens your clip if you want more time in the shot
This step is optional for your very first video, but it’s worth knowing it exists — it’s one of the most useful parts of the whole platform once you start making more complex content.
Step 8 — Download and Use Your Video
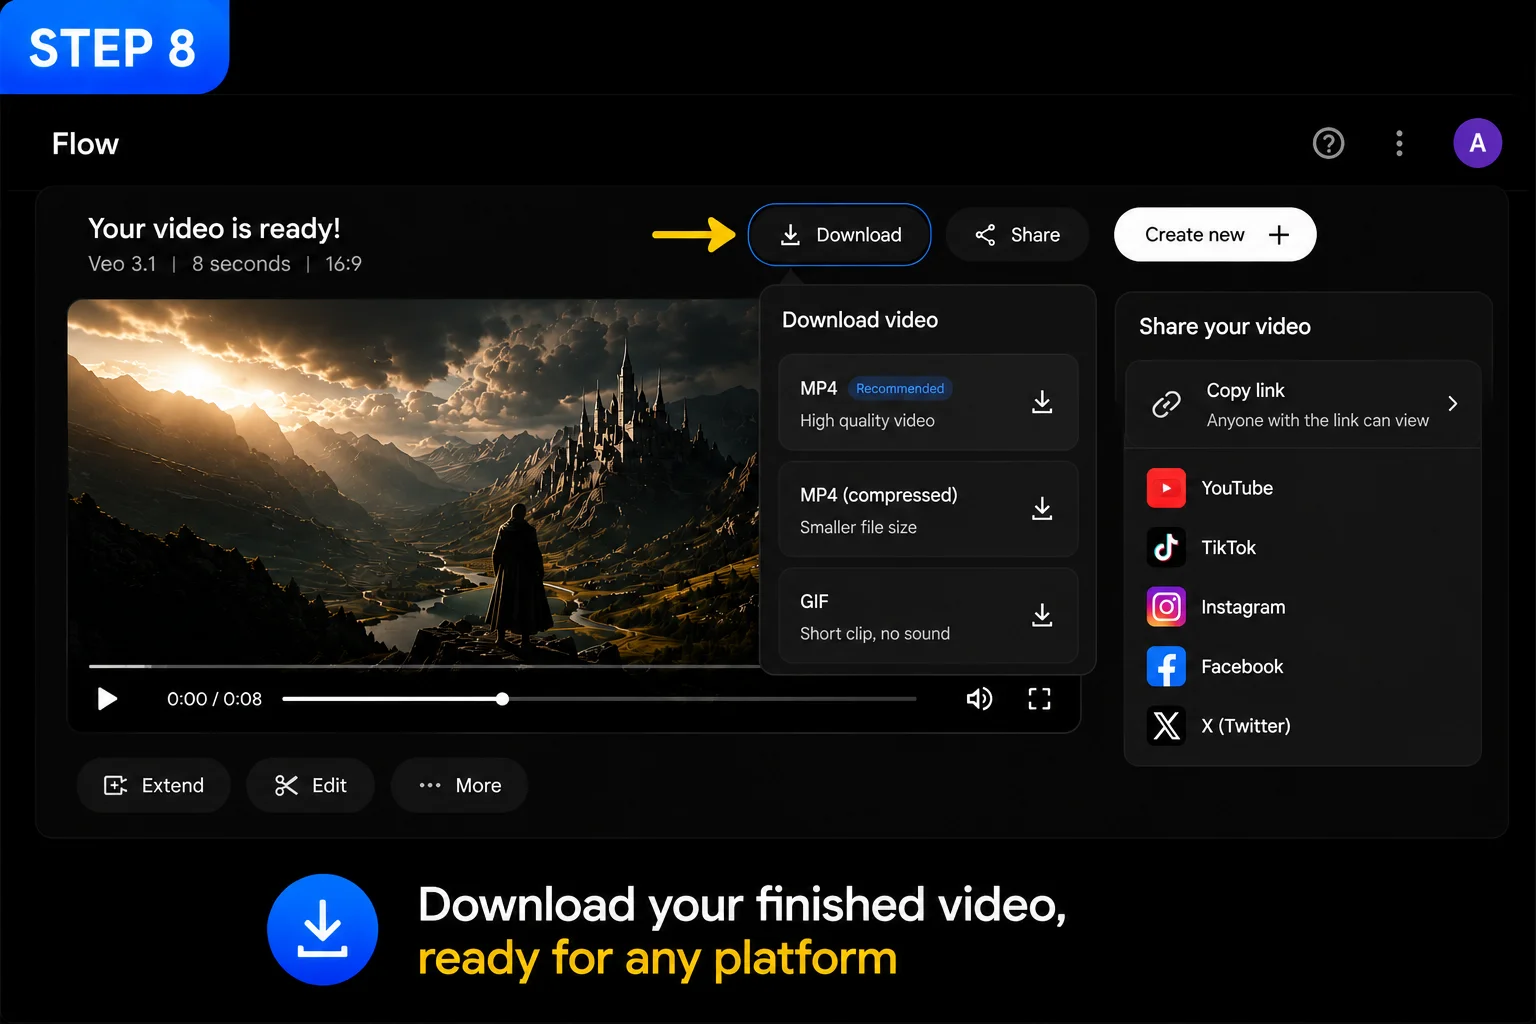
Click the download icon on your finished video. It saves as an MP4 file, compatible with every major platform — YouTube, Instagram, TikTok, WhatsApp, anywhere you want to share it.
That’s it — you’ve completed a full Google Flow video tutorial cycle, from blank screen to a finished, downloadable AI video with sound.
Common First-Time Mistakes — And How to Avoid Them
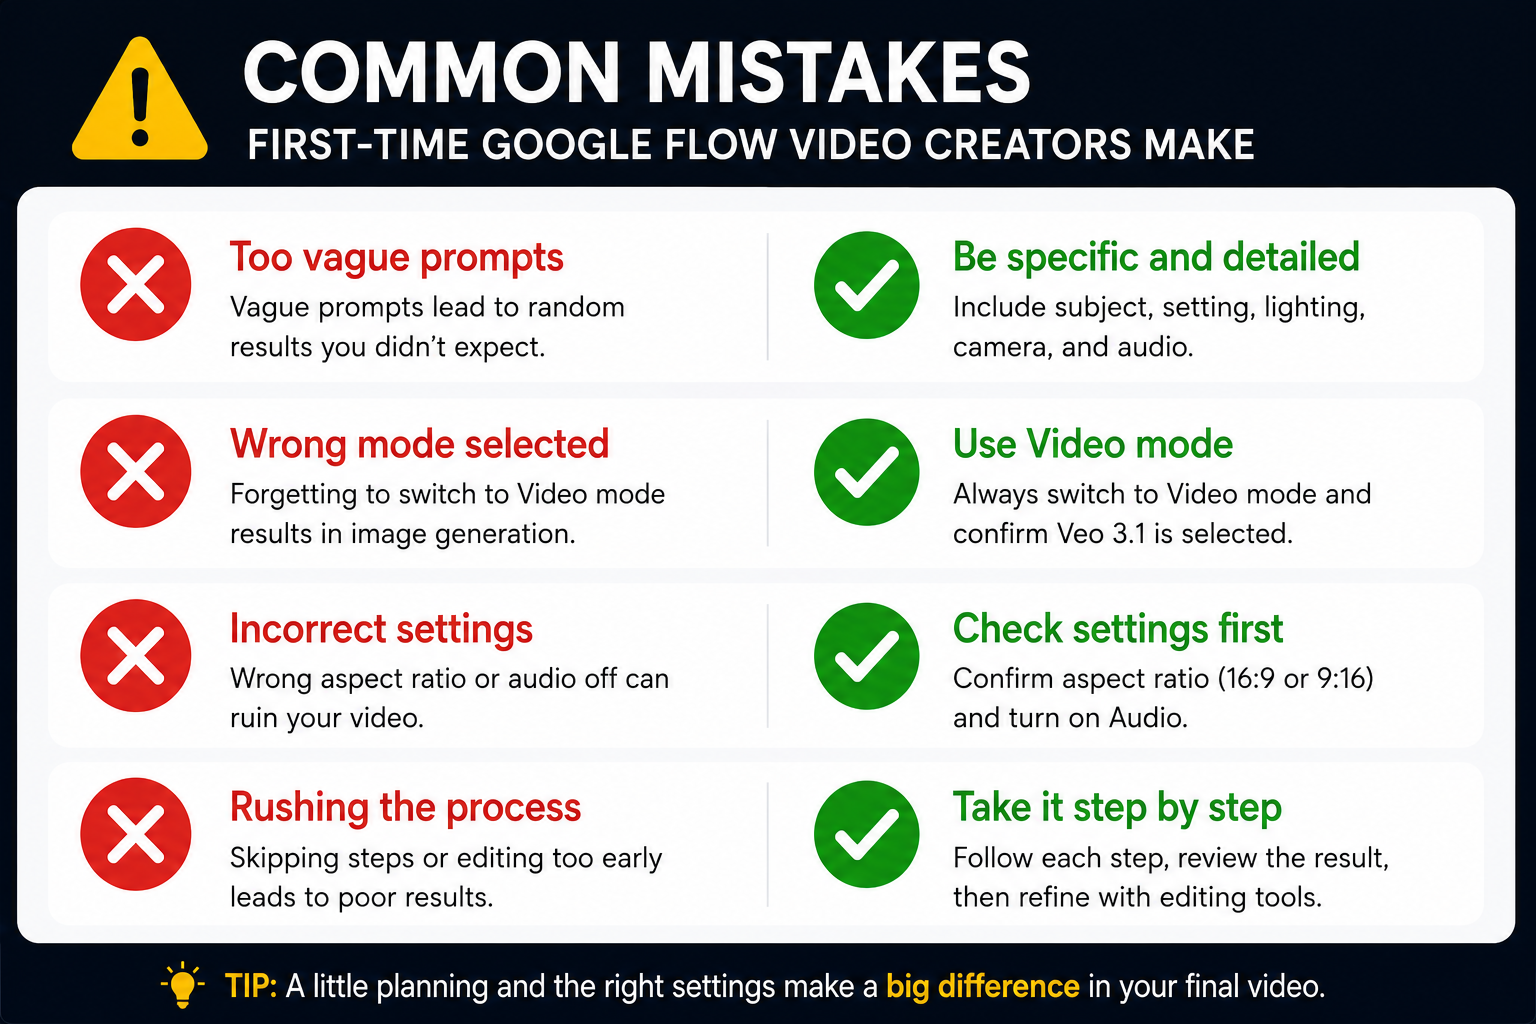
Mistake: Forgetting to switch to Video mode. If you generate and get an image instead of a video, check your mode toggle — it’s easy to miss on your first session.
Mistake: Writing a prompt with no camera or audio direction. A prompt that’s just “a cat in a garden” produces something far less polished than one that includes lighting, camera movement, and audio cues. Use the four-part formula from Step 3.
Mistake: Closing the tab while generating. Wait for the process to complete, or use the mobile app for background notifications.
Mistake: Not checking the credit balance before generating. Video generation uses AI credits. If you’re out, generation fails with a generic error. Check your balance under your profile icon before starting a session. If you run into this, our Google Flow generation failed fix guide covers every cause.
What to Try Next After This Tutorial
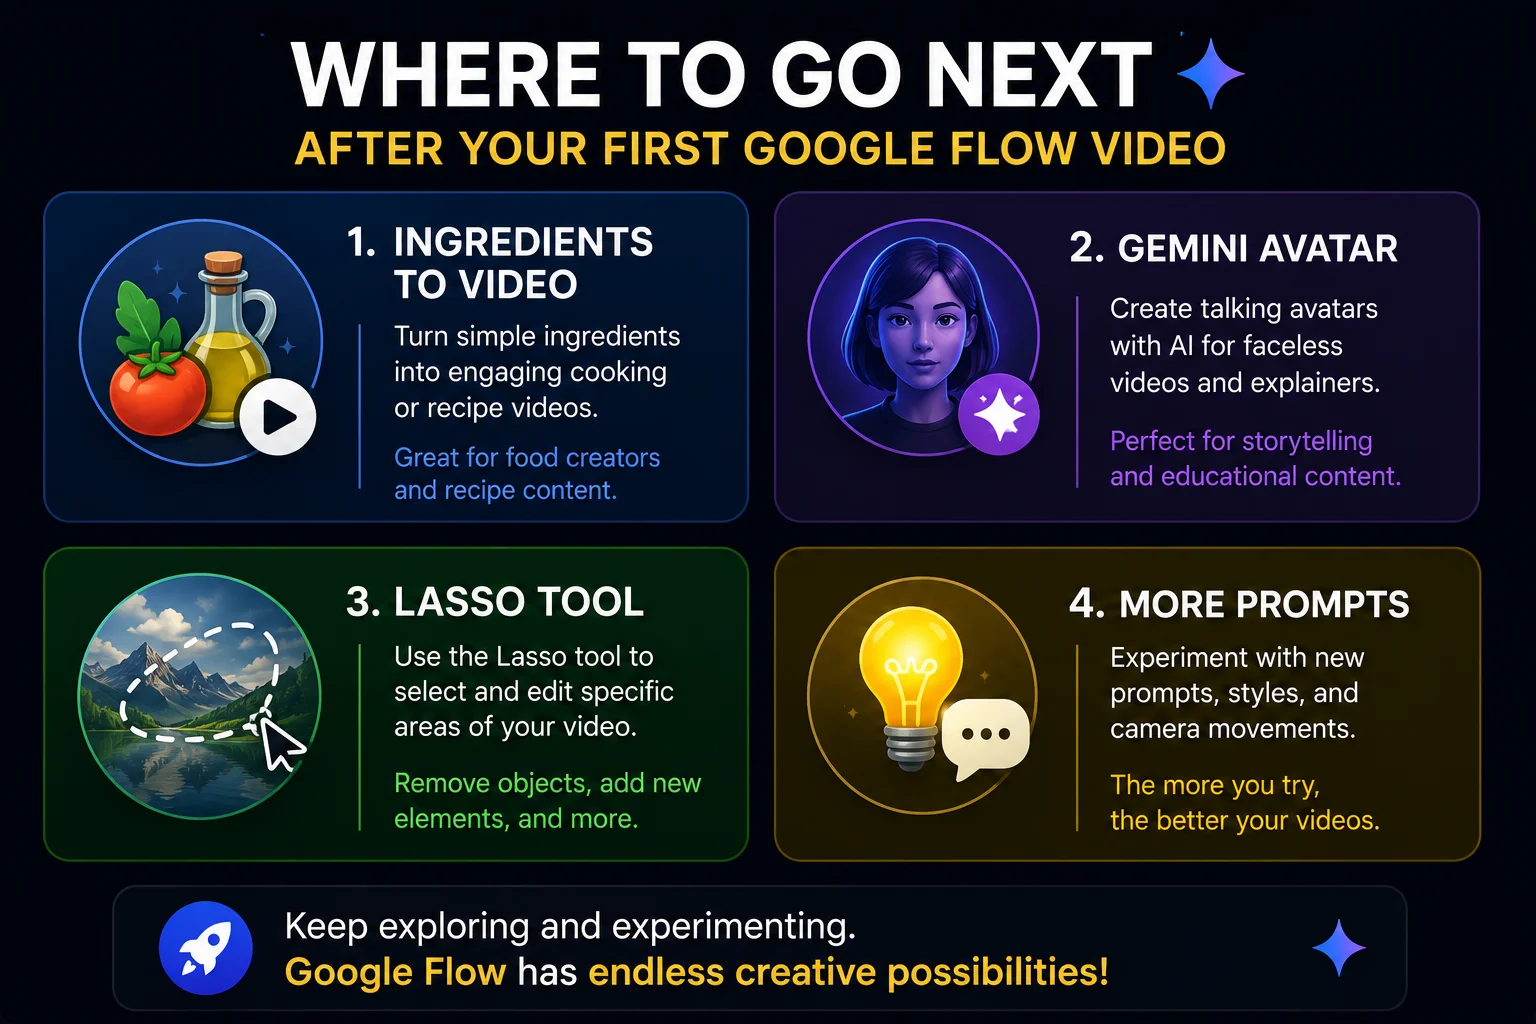
Once you’ve made your first video, here’s where to go deeper:
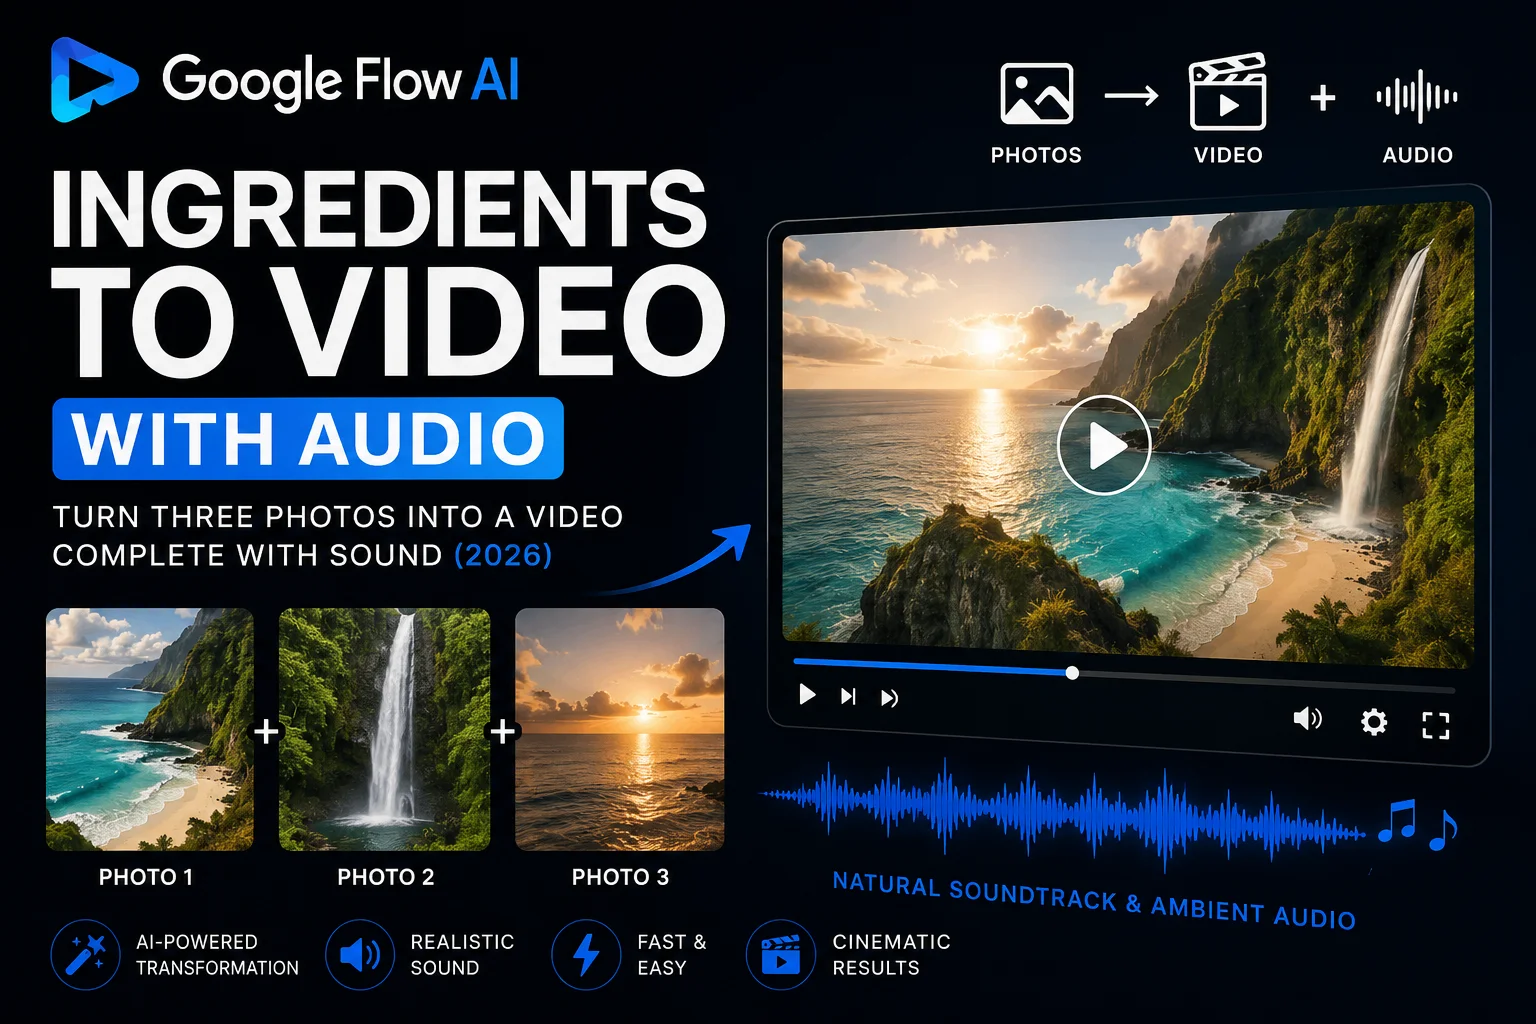
Try the Ingredients to Video with Audio workflow — upload a Subject, Scene, and Style photo instead of writing everything in text, and get a personalized video with audio.
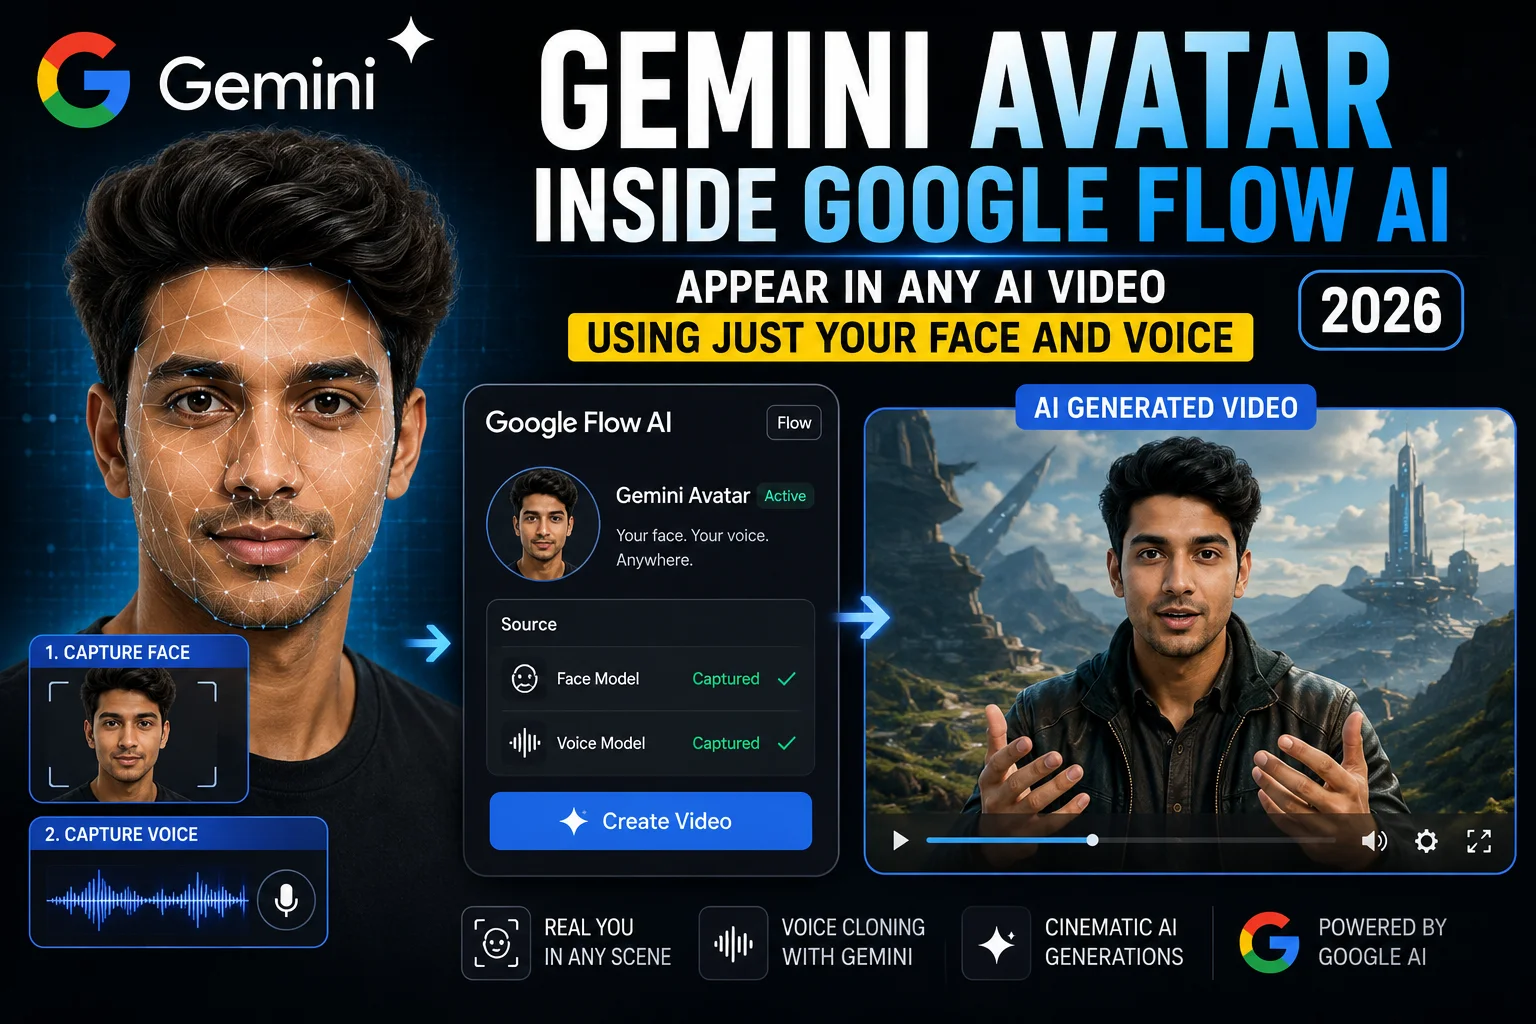
Set up Gemini Avatar — scan your own face and voice once, then put yourself in any AI video you generate going forward.
Explore the Lasso Tool — for precise, surgical edits to specific parts of your generated content.
Build a library of tested prompts — organized by category (cinematic, social media, business, nature) so you’re never starting from a blank page.
Frequently Asked Questions
Q: Do I need to pay to follow this Google Flow video tutorial?
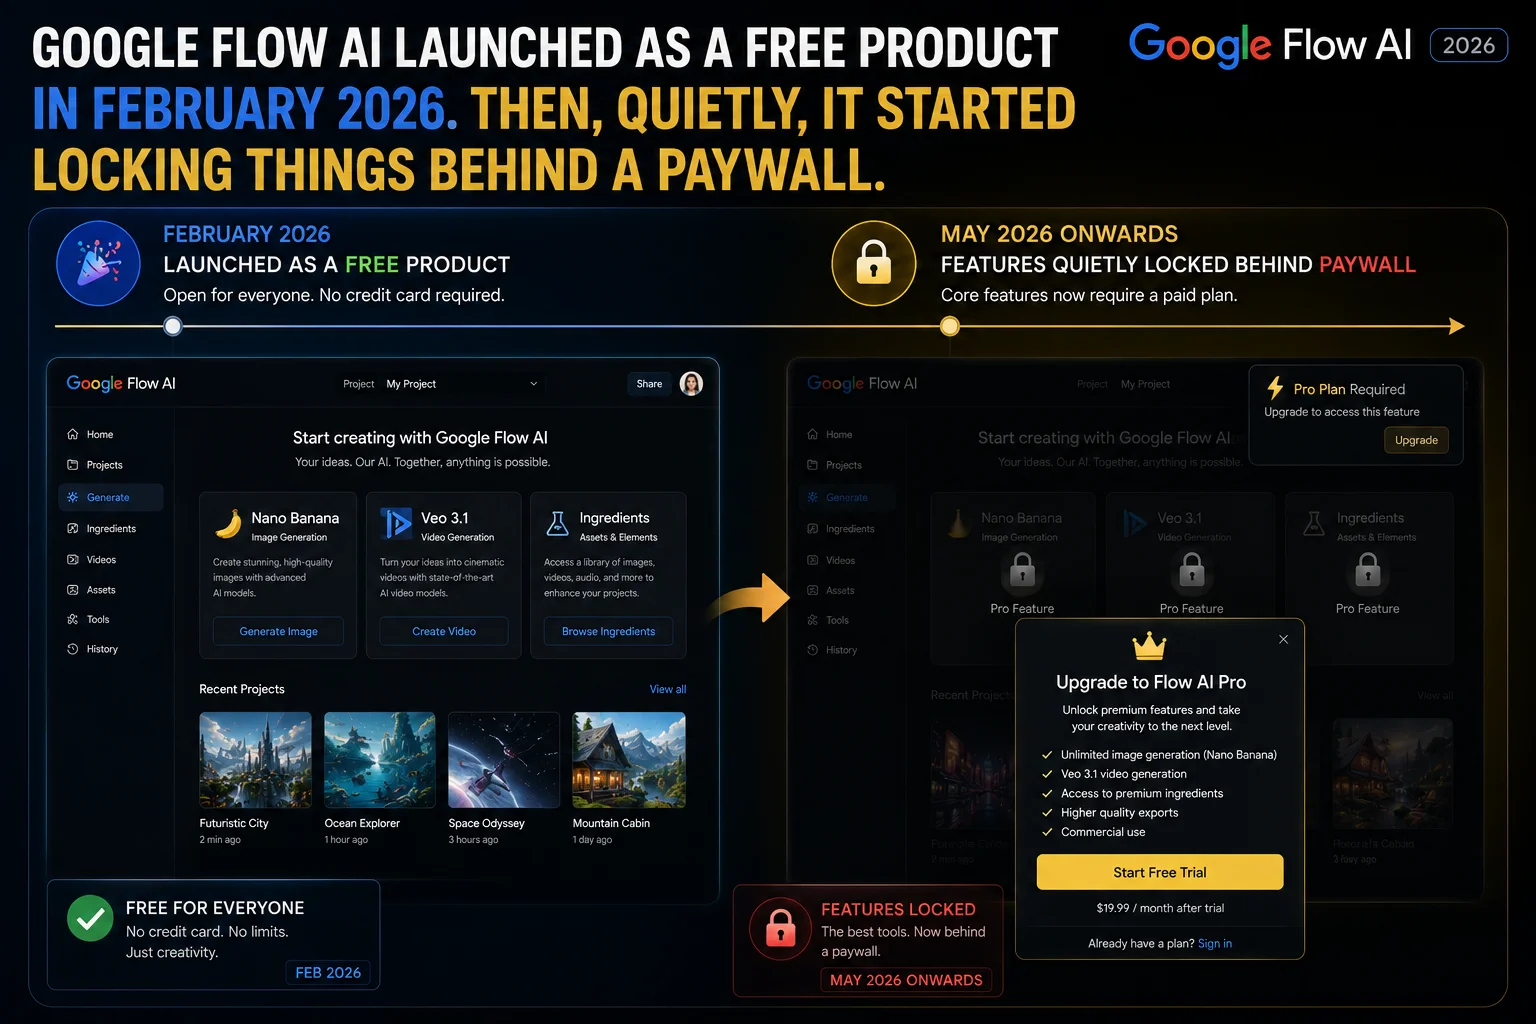
Image generation is free, but video generation with Veo 3.1 requires Google AI Plus ($19.99/month, approximately Rs. 1,400/month in Pakistan). If you want to practice for free first, start with images using our Google Flow AI Tutorial.
Q: How long does it take to generate a video?
Typically 30 seconds to 2 minutes, depending on server load and prompt complexity.
Q: Why is my video silent even though I followed this tutorial?
Confirm you selected Veo 3.1 (not Veo 2) and that the audio toggle was switched on before generating. See our Veo 3.1 update guide for full audio system details.
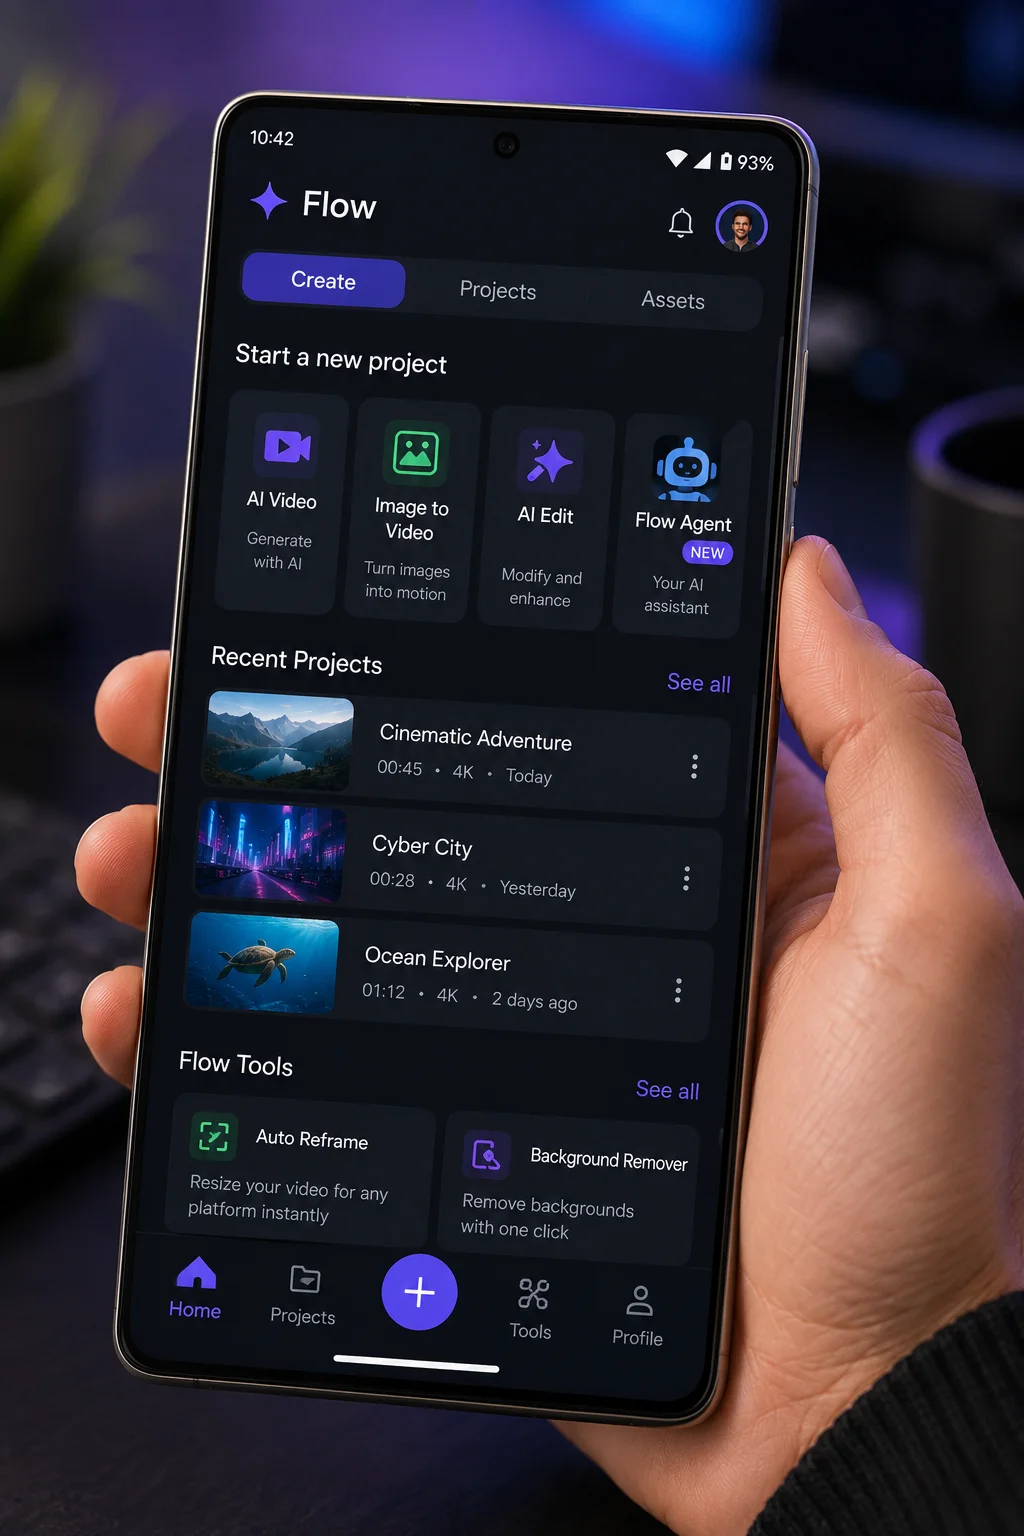
Q: Can I follow this tutorial on my phone instead of a computer?
Yes. The Google Flow mobile app supports the same generation workflow, plus camera roll and live camera integration that desktop doesn’t have.
Q: How long is the video I get from one generation?
Typically 5-10 seconds per clip. You can extend clips using Scene Extension or chain multiple clips together in Flow AI’s timeline to build longer videos.
Q: What if my generation fails partway through this tutorial?
Check your credit balance first — this is the most common cause. Our Google Flow generation failed fix guide covers every documented cause and solution.
Q: Is this Google Flow video tutorial the same as the official Google documentation?
This is an independent, hands-on tutorial written by the WhiskAILabs team based on direct testing. For official documentation, see support.google.com/flow.
Final Thoughts — You’ve Made Your First AI Video
That’s the complete process — from opening flow.google to downloading a finished video with sound, in about ten minutes. The structure you just learned (Subject, Setting, Lighting, Camera, Audio) is the same formula that works for every video you’ll generate going forward, no matter how complex your project becomes.
The biggest shift for most first-time users isn’t technical — it’s realizing how much faster the iteration loop is compared to traditional video production. Don’t like something? Adjust the prompt, or use the Lasso Tool to fix just one part. Within a few sessions, this becomes second nature.
For the complete platform walkthrough covering every feature Flow AI offers, see our Google Flow AI Tutorial. And for everything happening in the Google Flow AI ecosystem as it evolves, visit WhiskAILabs.
Related Articles on WhiskAILabs:
- Home — WhiskAILabs.net
- Google Flow AI Tutorial — Step by Step
- What Is Google Flow AI?
- Veo 3.1 Update 2026 — All New Features
- Best Google Flow AI Prompts 2026
- Ingredients to Video with Audio Guide
- Gemini Avatar in Google Flow AI
- Google Flow AI Lasso Tool Guide
- AI Flow Download — Complete Guide
- Google Flow Generation Failed Fix
- Google Flow AI Pricing 2026
- Pakistan Access Guide for Google AI
- News & Updates — WhiskAILabs
Official External Sources:

AI tools researcher aur content creator hoon. Google Whisk AI, Google Flow AI aur image generation tools par actively kaam karta hoon. WhiskAILabs.net ka founder hoon jahan AI tools ko simple aur asaan andaaz mein explain kiya jata hai.