Gemini Avatar in Google Flow AI | How to Put Yourself in Any AI Video (2026 Complete Guide)
What if you could appear in a cinematic AI-generated video — standing on a beach at sunset, presenting on a stage, exploring a fantasy forest — without ever turning on a camera?
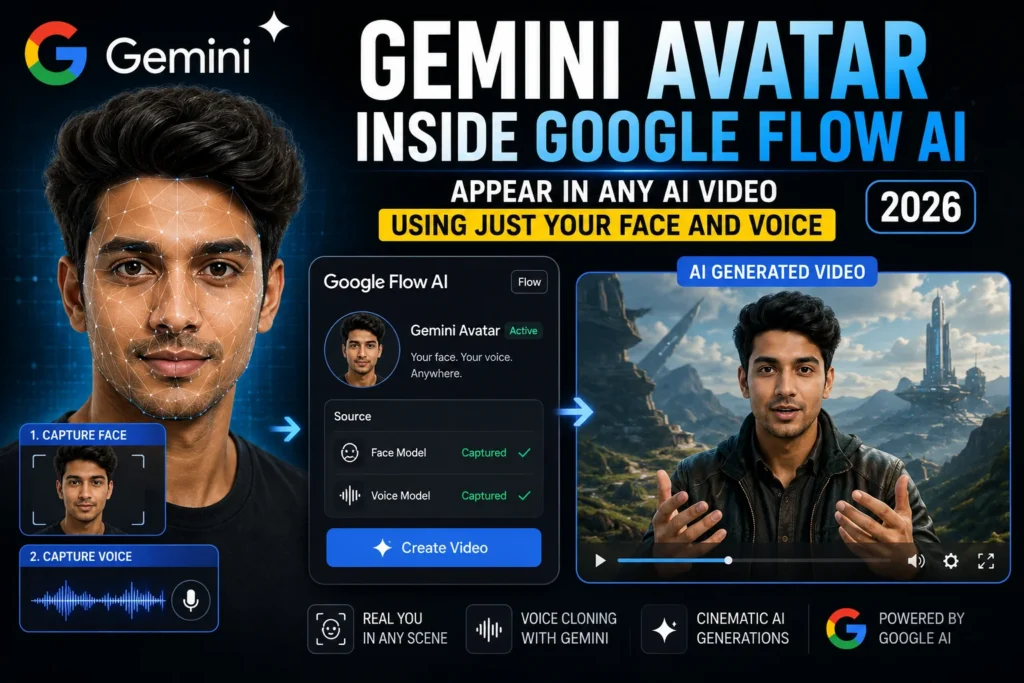
That’s exactly what Gemini Avatar inside Google Flow AI now lets you do.
This isn’t a gimmick or a cartoon filter. It’s a full AI-powered system that scans your actual face and voice, creates a digital version of you, and lets you drop that version into any video scene you generate inside Google Flow AI — complete with your real appearance, your real voice, and Veo 3.1’s native audio.
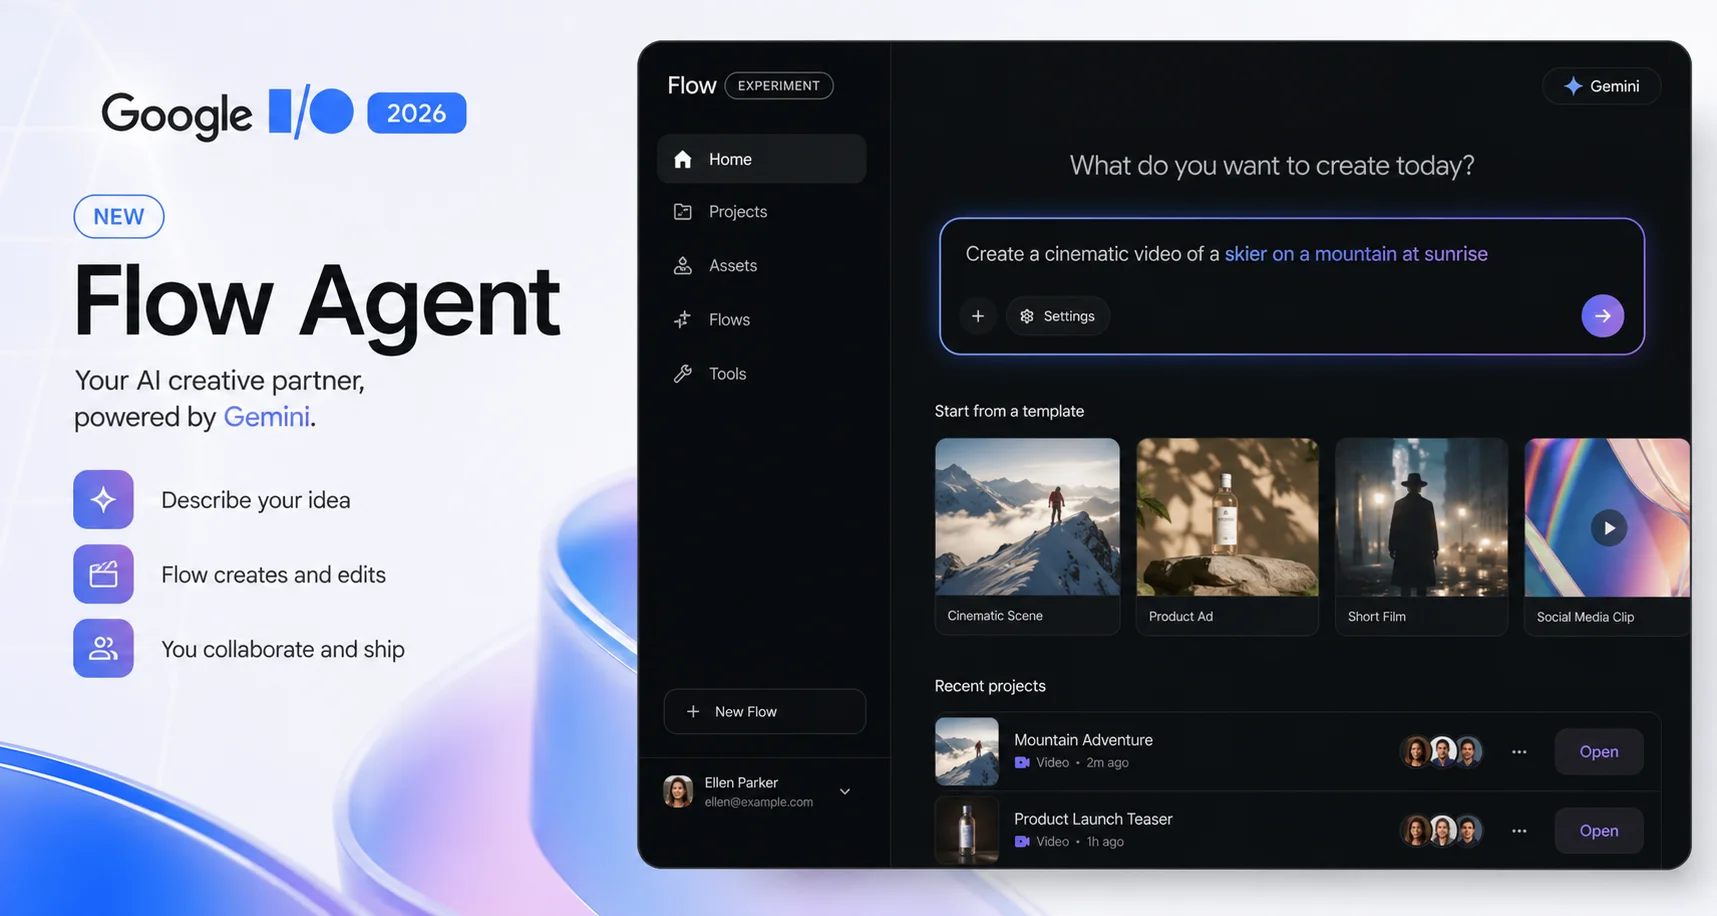
The feature launched at Google I/O 2026 in May and has been rolling out to paid subscribers throughout June 2026. Right now, thousands of creators are using it for the first time. This guide tells you everything — what it actually does, how to set it up inside Flow AI, how to use it well, and what the real-world results look like.
Let’s go.
What Is Gemini Avatar — and Why Is It Inside Flow AI?
Before anything else, let’s clear up a common point of confusion.
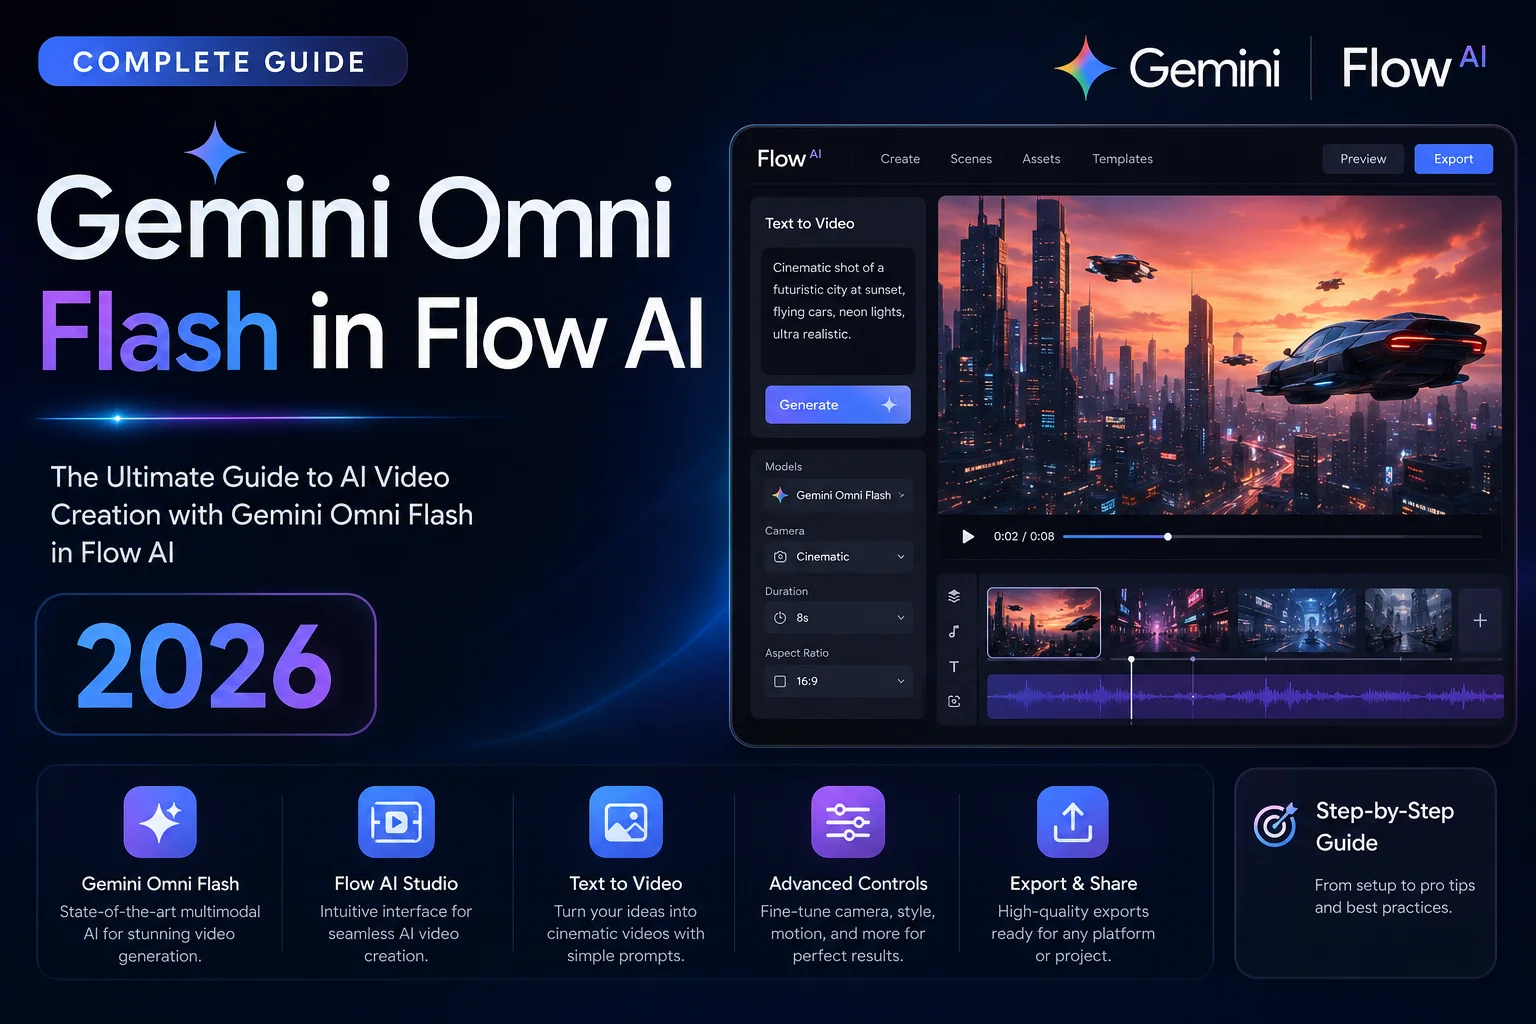
Gemini Avatar is a feature powered by Gemini Omni — Google’s newest multimodal AI model announced at I/O 2026. It lets you create a personalized AI clone of yourself using your face and voice, and then use that clone to generate video content featuring you.
Now here’s the key thing for WhiskAILabs readers: Gemini Avatar lives inside Google Flow AI, not just in the Gemini chat app. When Google introduced Avatars as part of the I/O 2026 update, they built it directly into Flow AI’s creative workflow — meaning you can use your Avatar the same way you use the Ingredients to Video system, the same way you use Veo 3.1 video generation, the same way you use all the other tools in Google Flow AI.
The reason Google put Avatars inside Flow AI specifically is the same reason all the best Flow features exist: character consistency. One of the hardest problems in AI video creation has always been keeping the same character looking the same from scene to scene. With your personal Avatar saved as an asset in Flow AI, you always look like you — across every clip, every scene, every project.
For a deeper look at what else Flow AI can do beyond Avatars, our complete Google Flow AI guide has the full picture.
How Gemini Avatar Works Inside Flow AI — The Simple Version
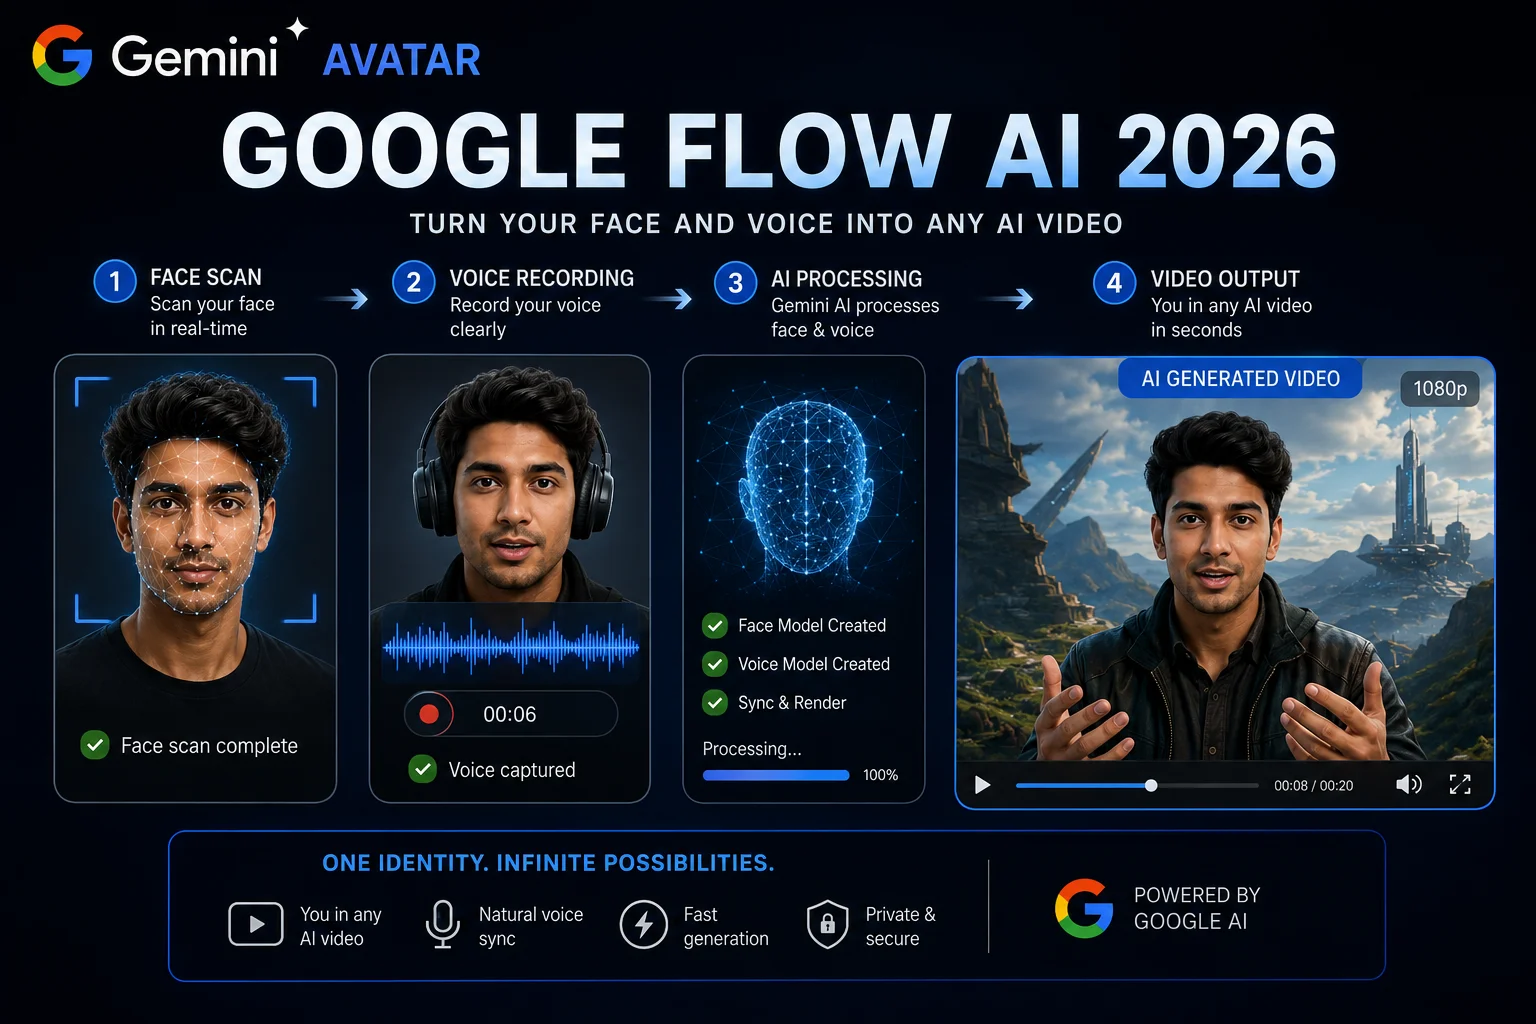
Here’s the whole system explained simply:
Step 1 — You scan your face. Flow AI uses your phone’s front camera to capture your face from multiple angles. This isn’t a flat 2D photo — it captures your face’s actual three-dimensional structure so the Avatar looks genuinely like you in motion, not just in a still image.
Step 2 — You record your voice. You read a few sentences or numbers out loud. Gemini Omni captures your voice’s natural tone, rhythm, and characteristics. This voice model is used whenever your Avatar speaks in a generated video.
Step 3 — Your Avatar is saved as a Flow AI asset. Once processed, your Avatar is stored in your Flow AI project library like any other creative asset — the same way a saved character or style reference is stored when you use Whisk AI’s Ingredients system.
Step 4 — You use @me in your prompts. Inside any Flow AI video generation prompt, type @me (or your saved Avatar name) and Gemini will insert your exact likeness into the generated scene.
Step 5 — Veo 3.1 generates the video. The same Veo 3.1 model that powers all of Flow AI’s video generation creates the final clip — with your Avatar as the main character, full motion, and synchronized audio.
Every video generated with your Avatar includes an invisible SynthID watermark from Google DeepMind — meaning the content is marked as AI-generated, which is an important safety measure we’ll cover in more detail later.
What You Need to Get Started
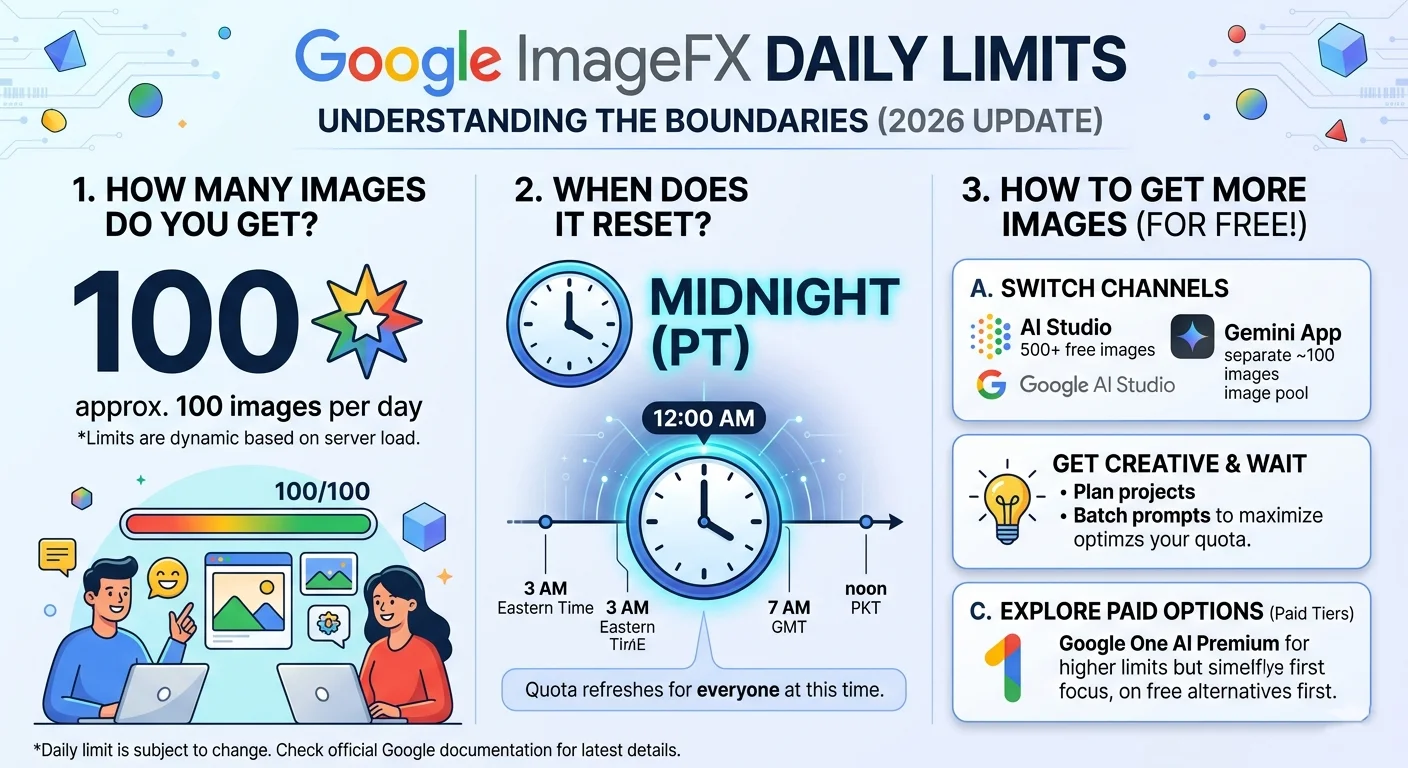
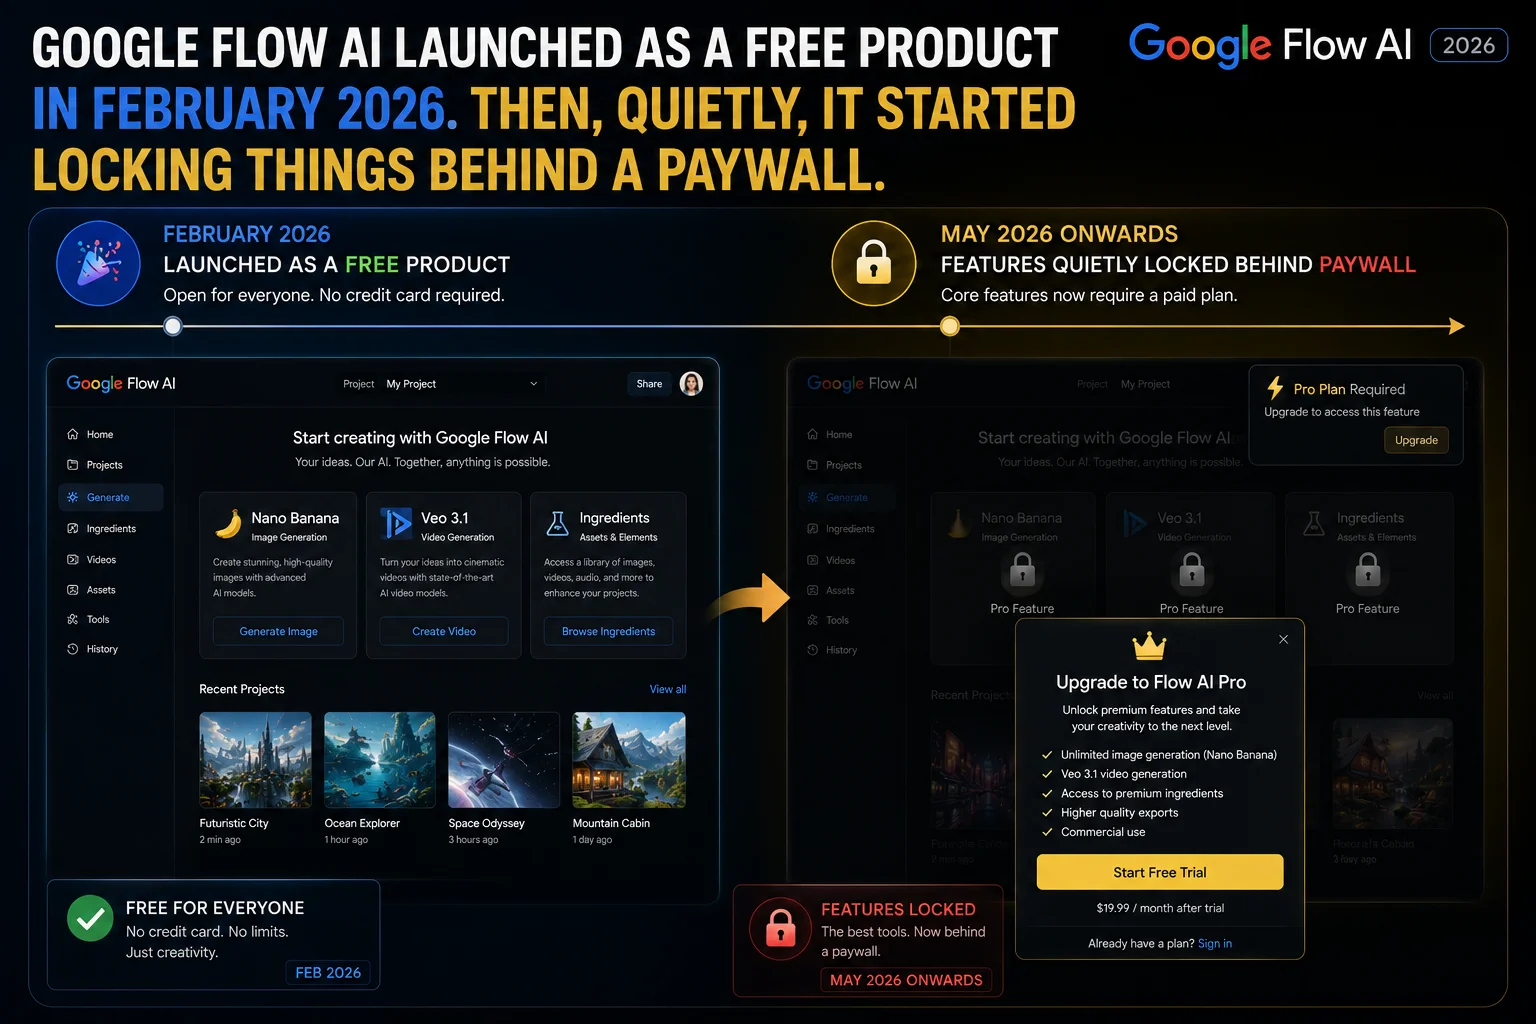
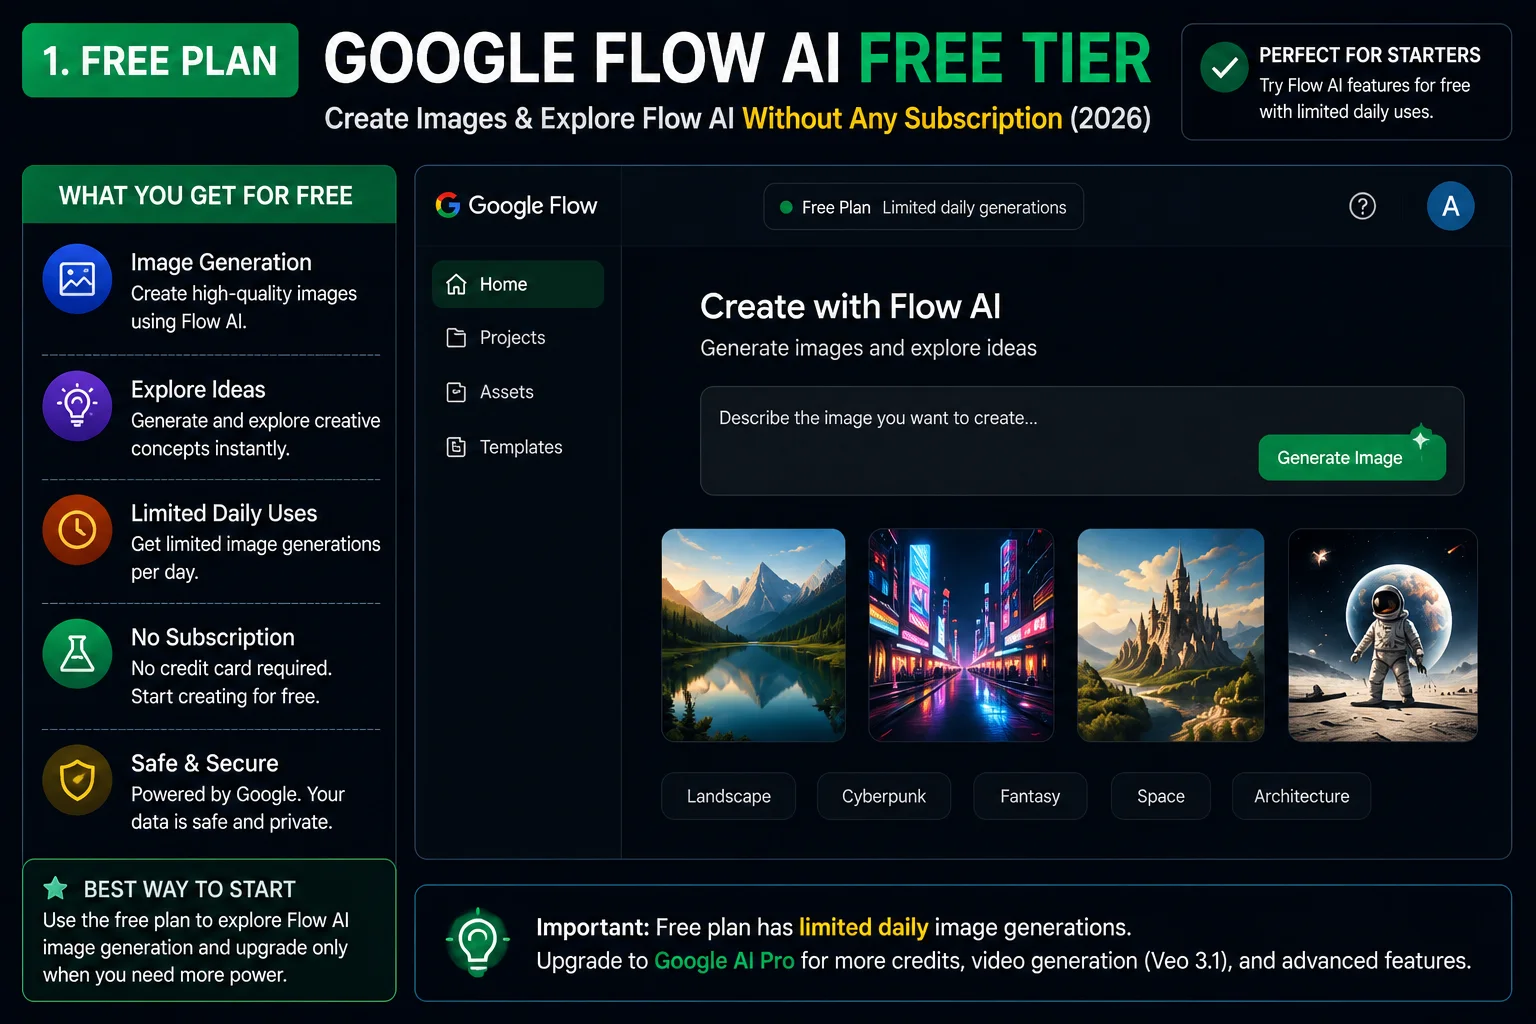
A paid Google AI subscription. Gemini Avatar inside Flow AI requires Google AI Plus ($19.99/month — approximately Rs. 1,400/month in Pakistan) or higher. The Avatar feature is not available on the free tier. For help with subscriptions in Pakistan, see our Pakistan access guide.
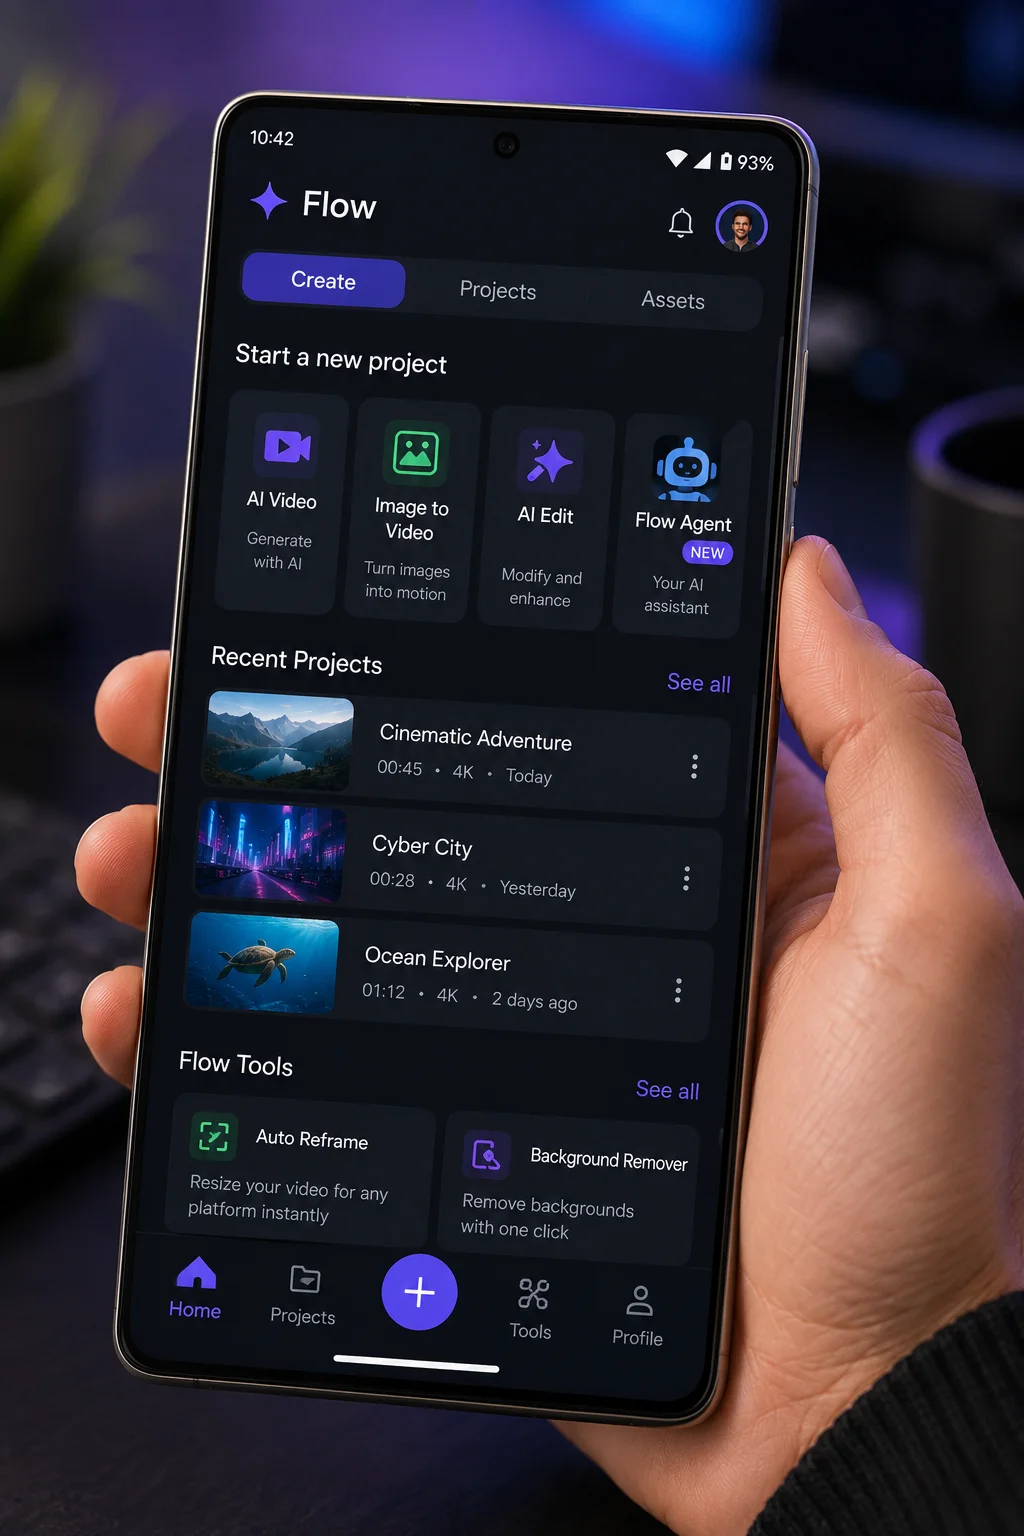
The Google Flow AI mobile app or desktop browser. The Avatar setup process works on mobile (where you have a front camera for the face scan) and the resulting Avatar asset can be used on both mobile and desktop. Download the Flow AI mobile app from the App Store or Google Play, or go to flow.google on your browser.
Good lighting for the face scan. This makes a real difference. A well-lit room — natural daylight or a lamp directly in front of your face — produces a significantly better Avatar than a dark environment or a room where the light is behind you.
A quiet environment for the voice recording. Background noise during the voice capture affects the quality of your voice clone. Find a quiet space before you start the setup.
Step-by-Step: Setting Up Your Avatar in Google Flow AI
Here is the exact process from opening Flow AI to having a working Avatar ready to use.

Step 1: Open Google Flow AI
Go to flow.google in your browser, or open the Google Flow AI mobile app on your phone.
Sign in with your personal Google account. As always, personal Gmail works best — Google Workspace accounts (school or business) may have restrictions on Flow AI features.
Step 2: Find the Avatar Feature
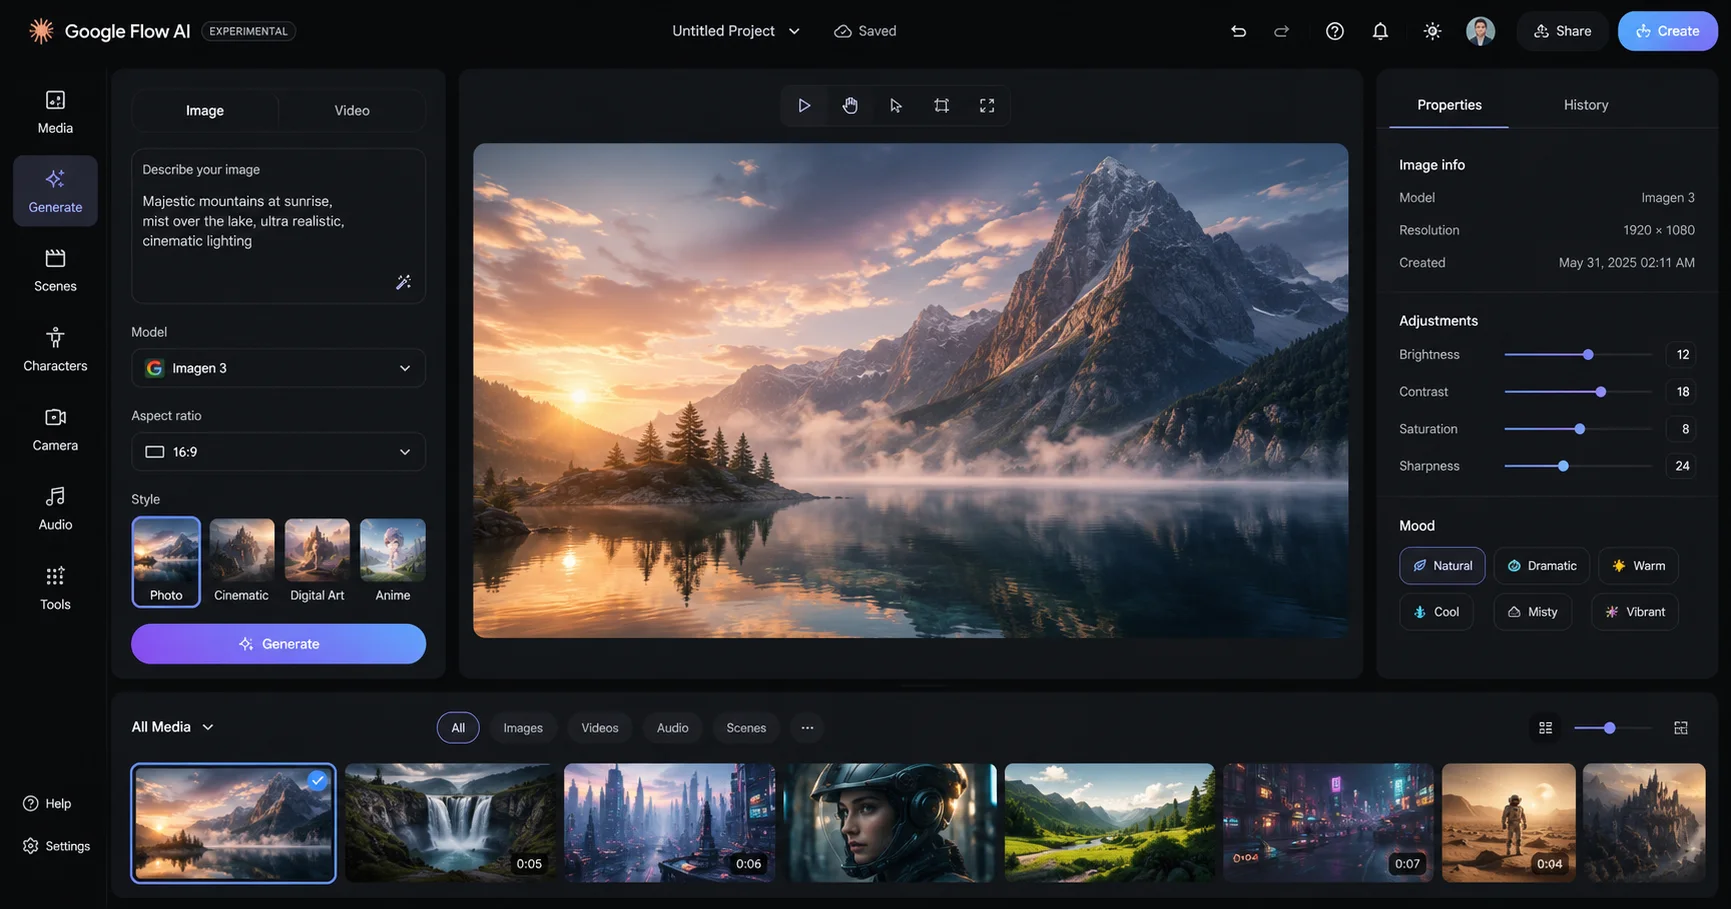
Inside Flow AI, look for the Avatar or Characters section. Google has placed this in the project assets panel — the same area where you’d find saved Ingredients, Style references, and other reusable creative assets.
On mobile, it may appear as a dedicated button in the creation interface. On desktop, look in the sidebar or the assets panel for an “Add Avatar” or “Create Avatar” option.
If you don’t see it yet, your account may still be in the rollout queue. Google is expanding access gradually — check back in a day or two.
Step 3: Start the Face Scan
Tap or click Create Avatar and begin the face scan process.
Position your face in the camera frame — your face should fill most of the frame, not be tiny in the middle of it. Follow the on-screen instructions:
- Look directly at the camera first
- Slowly rotate your head to the left
- Slowly rotate your head to the right
- Tilt your chin slightly up, then slightly down
The whole face scan takes about 30-60 seconds. Move slowly and smoothly — jerky movements can affect the scan quality. The system is capturing the three-dimensional structure of your face, not just a snapshot.
Lighting tip: Sit facing a window or a lamp so the light falls on your face from the front. Avoid sitting with a window behind you — this creates a silhouette and makes the scan much harder.
Step 4: Record Your Voice
After the face scan, Flow AI will prompt you to record your voice.
You’ll see text on screen — read it out loud at your normal speaking pace and volume. Don’t try to sound different or speak unusually. The system captures your natural voice, and the more natural you speak, the better the Avatar’s voice will match you.
The recording takes about 1-2 minutes of speaking. You may be asked to read more than one passage to get enough voice data.
Voice tip: Do this in the quietest space you can find. Air conditioning noise, traffic outside, or background TV can all affect the voice clone quality.
Step 5: Wait for Processing
Once you’ve completed the face scan and voice recording, Gemini Omni processes your data to build your Avatar. This typically takes 3-10 minutes. You’ll get a notification inside the app (and possibly a push notification on mobile) when your Avatar is ready.
You don’t need to keep the app open during processing — close it and come back when the notification arrives.
Step 6: Preview Your Avatar
When processing is complete, you’ll see a preview of your Avatar. Google will show you a short generated clip of your Avatar speaking or moving so you can evaluate how well it captures your appearance and voice.
If you’re happy with the result — great, you’re ready to use it. If the Avatar doesn’t look quite right (common causes: poor lighting during face scan, background noise during voice recording), you can redo the scan. Most people find the first attempt is good enough to work with, and quality improves slightly with each redo.
Step 7: Your Avatar Is Now a Flow AI Asset
Once confirmed, your Avatar appears in your Flow AI assets panel as a saved character. It’s now available across all your Flow AI projects — not just one video, but every video you ever make inside Flow AI going forward.
How to Use Your Avatar in Flow AI Videos — Practical Guide
Now the fun part. Here’s how to actually generate videos featuring yourself.
Basic usage — type @me in your prompt:
In any Flow AI video generation prompt, include @me where you want yourself to appear in the scene. Example prompts:
- “@me walking slowly along a coastal cliff at sunset, cinematic wide shot, gentle wind”
- “@me sitting at a desk in a modern office, working on a laptop, warm natural light”
- “@me standing in a fantasy forest with glowing fireflies, magical atmosphere, Ghibli-style lighting”
- “@me presenting to a large audience in a conference hall, professional and confident”
The @me tag tells Veo 3.1 to use your saved Avatar as the main Subject of the generated video. Your face, your body shape, and your voice are all preserved across every prompt that includes @me.
Combining Avatar with the Ingredients Workflow:
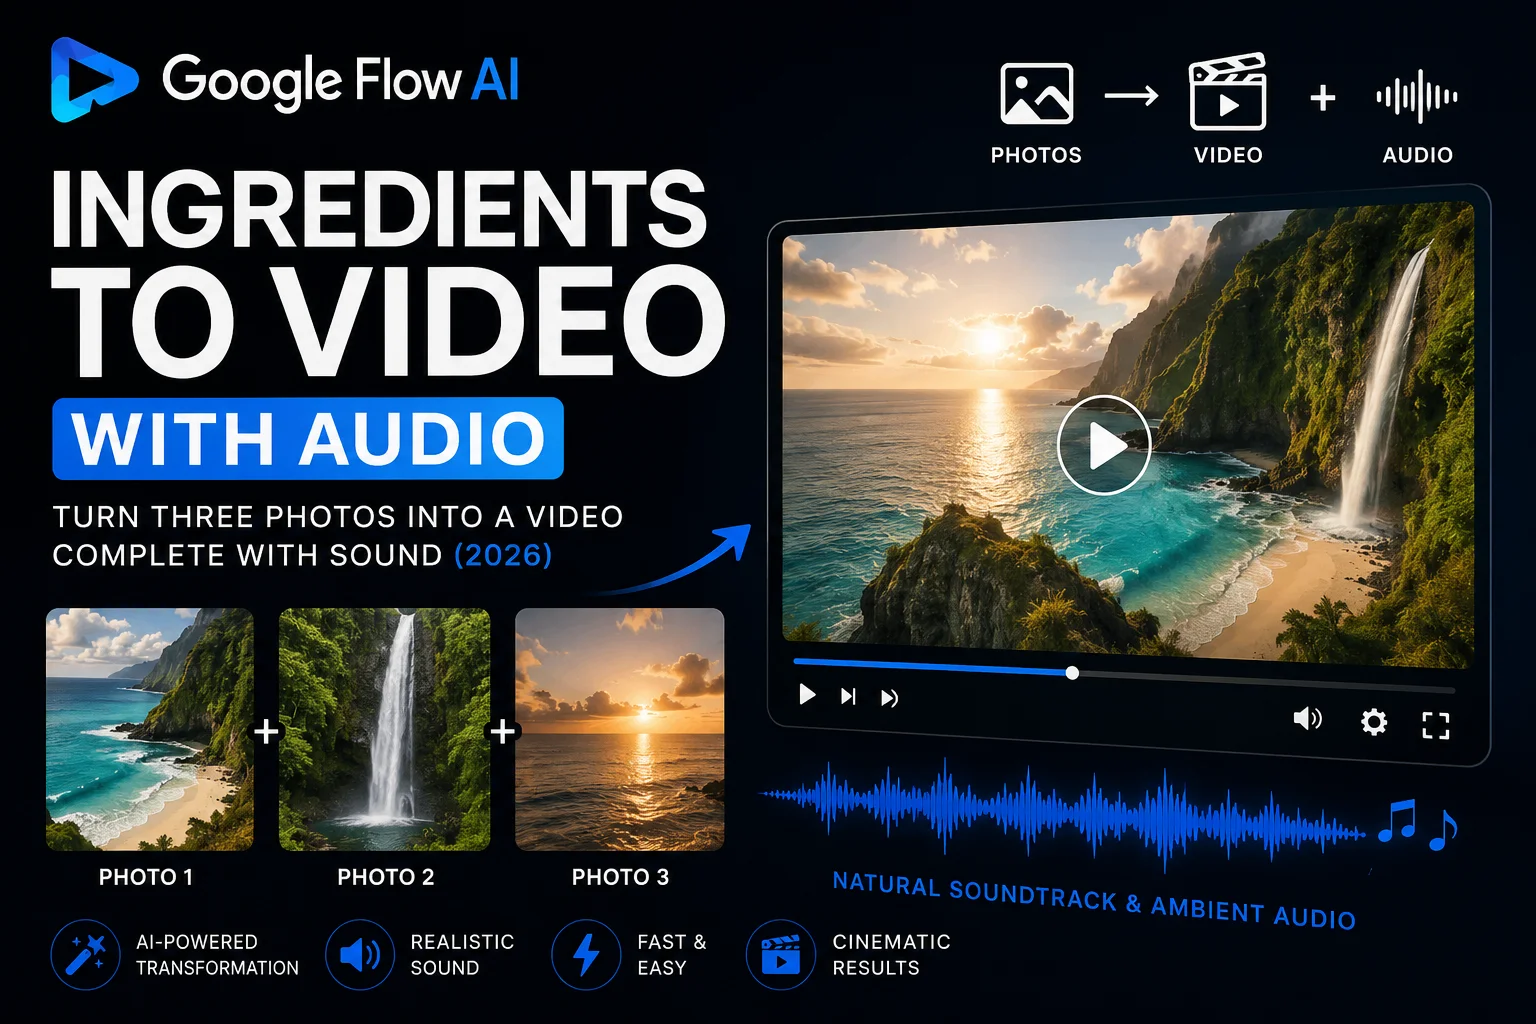
Your Avatar works beautifully alongside Flow AI’s Ingredients to Video with Audio system.
Instead of uploading a Subject photo each time (which you’d have to do for every session without Avatar), your saved Avatar is your Subject. Use it alongside Scene and Style ingredients to control the environment and visual aesthetic of videos featuring you.
Example workflow:
- Subject: Your Gemini Avatar (@me)
- Scene: A dramatic mountain landscape photo you upload
- Style: Cinematic nature documentary photography reference
- Prompt: “@me exploring the mountain, slow deliberate steps, documentary feel”
Result: A video of you in a cinematic mountain scene, complete with ambient audio — without ever going near a mountain.
Building multi-scene videos with consistent character:
This is where Gemini Avatar inside Flow AI becomes genuinely powerful for serious content creators.
Before Avatar, if you wanted to appear in multiple scenes of an AI-generated video, you had to upload a fresh reference photo for each scene — and even then, subtle character drift meant you might look slightly different from scene to scene.
With your Avatar saved as a persistent asset, every scene featuring @me uses the same identity. Your face is consistent across scene 1, scene 3, and scene 7 of the same project. This makes building multi-clip videos featuring yourself dramatically more practical.
For building multi-scene videos, use Flow AI’s timeline feature to chain your Avatar clips together. Our Google Flow AI Tutorial has the full workflow for assembling multiple clips into a complete video.
Using Avatar with Flow AI’s editing tools:
The Veo 3.1 editing features — Add Object, Remove Object, Scene Extension — all work with Avatar-generated clips. If you generate a video of yourself in a scene and want to add an object to the scene, or extend the scene beyond its initial length, those tools work exactly the same way as with any other generated clip.
What Kind of Results Can You Expect?
Being honest here is important, because expectations vary widely.
Where results are excellent:
- Portrait-style scenes where your face is clearly visible
- Professional settings like offices, stages, or formal environments
- Scenes with simple, clear motion (walking, sitting, standing, turning)
- Content where the Avatar is speaking directly to camera
- Creative portraits in artistic styles (illustrated, painterly, cinematic)
Where results are more variable:
- Complex physical actions (sports, dancing, fast movement)
- Very crowded or chaotic scene backgrounds
- Extreme close-ups where small facial details become very apparent
- Non-English dialogue — lip sync is less precise for some languages
- Scenes requiring very specific hand or body positions
One real-world creator who tested the full workflow — from face scan to finished one-minute podcast hype video — reported going from zero to a complete video in about 15 minutes. The Avatar quality was described as “slightly uncanny” in close-up but convincing in wider shots and for social media use. That’s a realistic expectation: impressive at social media scale, with some limitations at broadcast-quality scrutiny.
Important Rules and Safety Information
Gemini Avatar is a powerful feature and Google has built real guardrails around it. Know these before you start:
You must be 18 or older. Age verification is required during Avatar setup. This is non-negotiable.
You can only create an Avatar of yourself. The face scan requires you to be physically present. You cannot build an Avatar of someone else using a photo or recording of them.
Every Avatar video has a SynthID watermark. All content generated with your Avatar is invisibly watermarked by Google DeepMind’s SynthID technology. This marks it as AI-generated — even if someone screenshots or re-uploads the video, the watermark persists. This is an important safety feature in a world where AI-generated faces could otherwise be used to deceive.
Content policies apply fully. You cannot use your Avatar to generate misleading, harmful, or deceptive content. Using Avatar-generated video to impersonate someone, spread misinformation, or violate any of Google’s content policies will result in account action.
Your biometric data is deletable. Your face and voice data are stored linked to your Google account. You can delete your Avatar and all associated biometric data at any time from Flow AI’s settings. Google does not use your Avatar data to train future models without consent.
Who Benefits Most From This Feature?
Solo content creators — If you make YouTube, Instagram, or TikTok content alone, generating Avatar video clips of yourself means you can batch-produce a week’s worth of content in one session, without needing to film yourself each time.
Educators and online teachers — Create explainer videos featuring yourself for different topics and courses without recording yourself for every lesson. Your Avatar maintains your professional appearance consistently across all content.
Small business owners — Appear in your own marketing videos, product demonstrations, and social media content without booking a video shoot or hiring a production team.
Creators in Pakistan and other mobile-first markets — The mobile-first nature of Google Flow AI’s Avatar setup — combined with the Flow AI Android app launched at I/O 2026 — makes this accessible from just a smartphone. No studio, no equipment, no expensive setup needed.
Anyone camera-shy — If being filmed makes you anxious, generating content featuring your Avatar is a genuine, high-quality alternative that still features your real appearance and voice.
Frequently Asked Questions
Q: Is Gemini Avatar inside Google Flow AI free? A: No. Avatar in Flow AI requires Google AI Plus ($19.99/month, approximately Rs. 1,400/month in Pakistan) or higher. Image generation in Flow AI remains free, but Avatar video generation requires a paid plan. See our Pakistan access and pricing guide for payment details.
Q: How is this different from just uploading my photo as a Subject ingredient? A: Uploading a photo as Subject gives the AI a reference for one generation session. Your Gemini Avatar is a saved, persistent identity asset — it stays in your Flow AI library permanently, works across all projects, and maintains more consistent facial and voice identity because it was built from a 3D scan rather than a flat 2D photo.
Q: Can I use my Avatar in Google Gemini chat too, not just Flow AI? A: Yes. Your Avatar is accessible across the Google ecosystem — both in the Gemini app (by typing @me in chats) and inside Google Flow AI for video production.
Q: What happens if someone steals my Avatar video and reposts it? A: Every Avatar-generated video carries Google DeepMind’s SynthID invisible watermark. This means the content can be identified as AI-generated even after reposting or re-encoding. While this doesn’t physically prevent reposting, it creates a verifiable record of the content’s AI origin.
Q: How long does the Avatar setup take? A: The face scan takes 30-60 seconds. Voice recording takes 1-2 minutes. Processing takes 3-10 minutes. Total time from start to usable Avatar is typically 15-20 minutes.
Q: My Avatar doesn’t look quite like me — what should I do? A: Redo the face scan in better lighting, ideally with a light source directly in front of your face. The single biggest factor in Avatar quality is lighting during the scan. Also ensure you’re moving your head slowly and smoothly during the scan rather than in quick jerky movements.
Q: Will Avatar work for Urdu or other non-English content? A: Voice cloning works in multiple languages, and your Avatar can speak in Urdu or other languages in generated videos. Lip sync precision for non-English dialogue is improving but may be slightly less accurate than English. For Urdu content creators in Pakistan, results are usable for social media, though broadcast-quality precision may require some further refinement from Google.
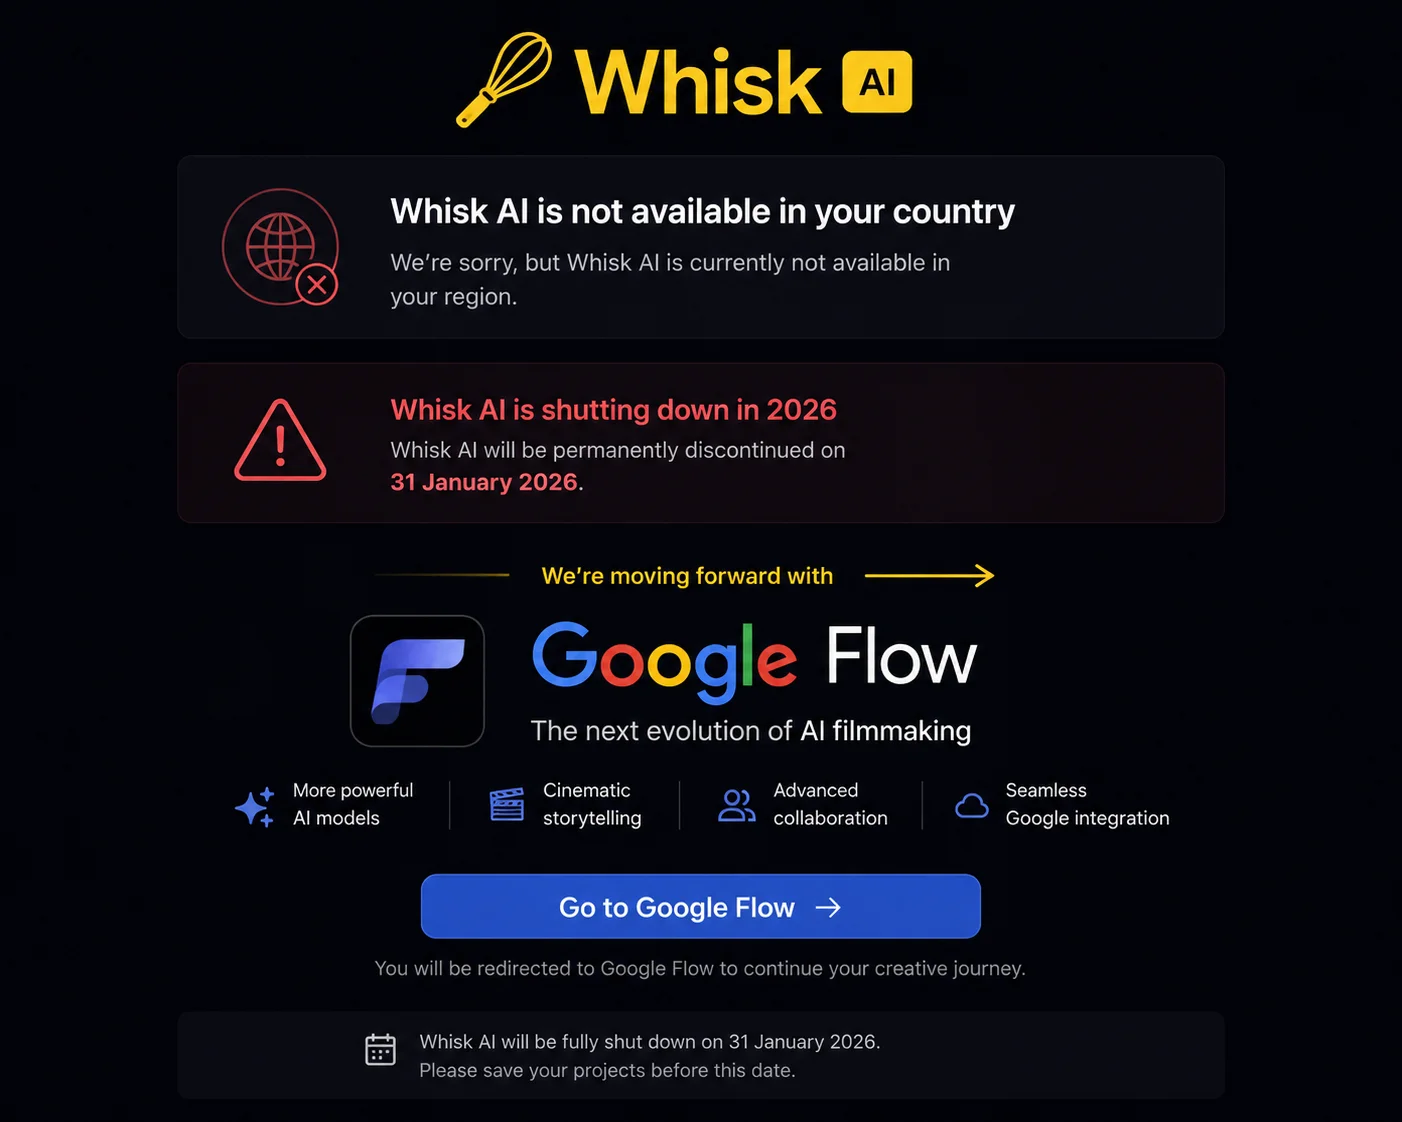
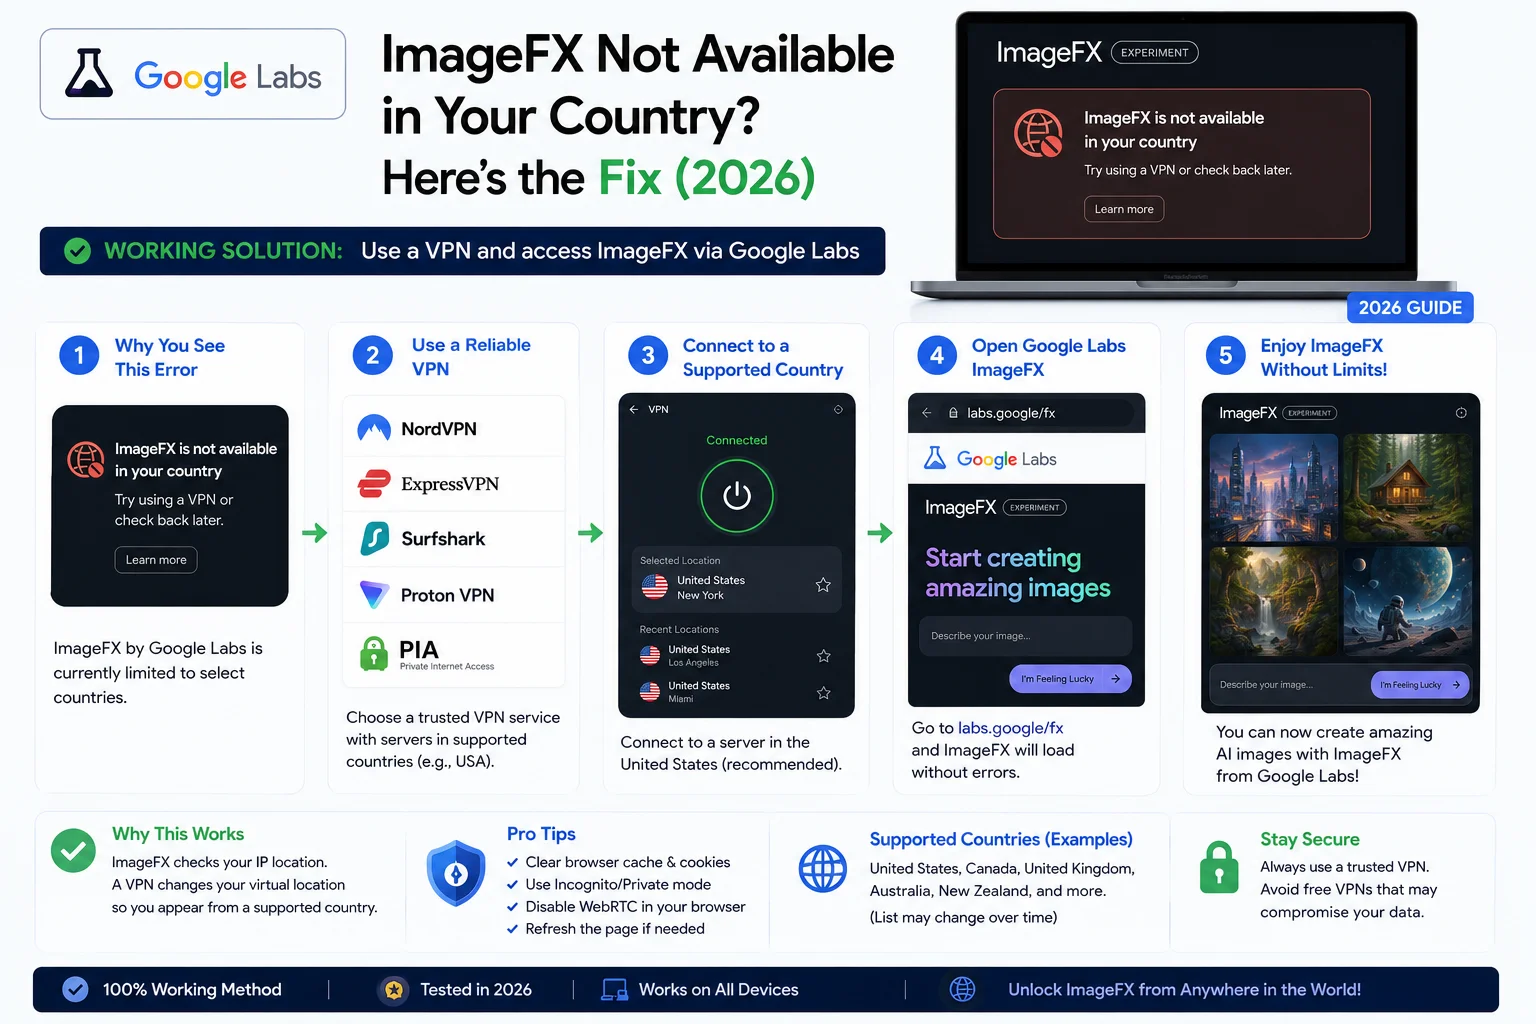
Q: What if I don’t see Avatar in my Flow AI yet? A: Google is rolling Gemini Avatar out gradually. If you have a paid subscription and don’t see it yet, your account is still in the rollout queue — check back in a few days. If you continue having access issues, our Whisk AI not working fix guide covers common Flow AI access troubleshooting.
Final Thoughts — Your Face, Any Scene, Right Now
Six months ago, appearing in a professionally produced video required a camera, lighting equipment, a good location, and either editing skills or a production team. For most creators and small business owners, that meant expensive shoots or simply not having video content featuring themselves.
Gemini Avatar inside Google Flow AI changes that equation completely.
Your face and voice, captured once in a 15-minute setup process, become a permanent creative asset you can drop into any scene Veo 3.1 can generate. A sunset beach. A fantasy kingdom. A professional conference stage. A cinematic nature documentary. Any scene — featuring you — in minutes.
That’s not a small thing. It’s the kind of capability shift that takes what was previously a professional production budget and puts it in the hands of anyone with a phone and a $20/month subscription.
Start at flow.google or the Flow AI mobile app. Find the Avatar section. Set up your face scan and voice recording. And then write your first @me prompt and see what Veo 3.1 does with it.
For everything else about Google Flow AI’s latest features — including the full I/O 2026 update breakdown, the Veo 3.1 feature guide, and the complete Ingredients to Video with Audio tutorial — all of it is on WhiskAILabs.
Related Articles on WhiskAILabs:
- Google Flow AI I/O 2026 Update — Mobile App, Agent & Gemini Omni
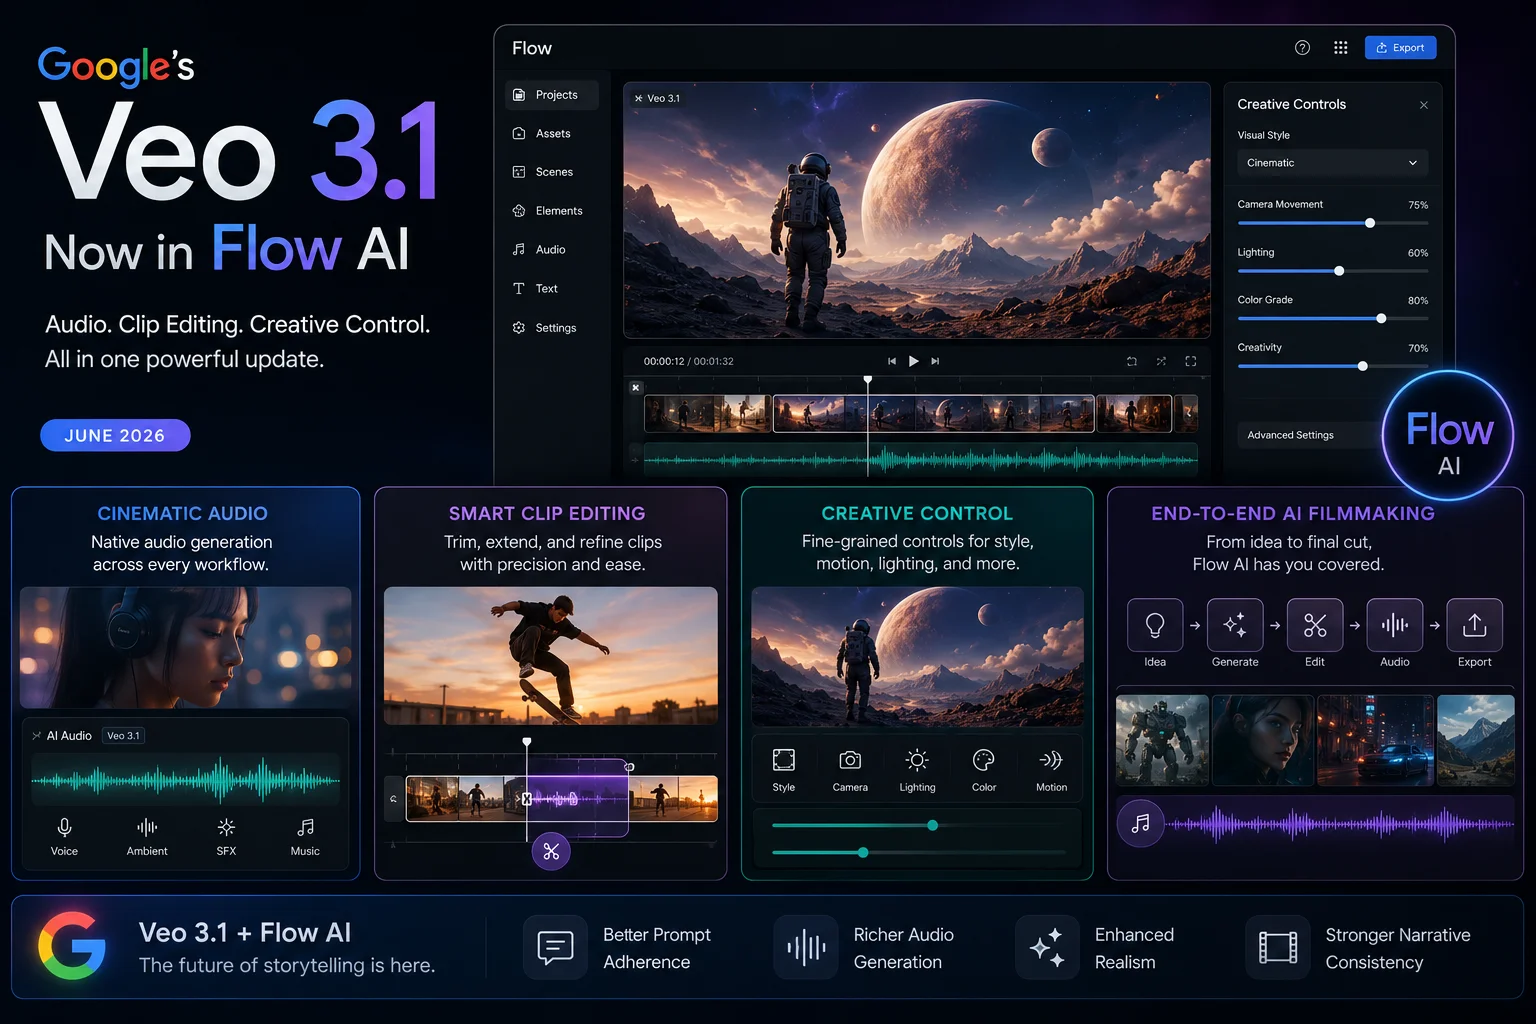
- Veo 3.1 Update 2026 — All New Features Explained
- Ingredients to Video with Audio — Complete Guide
- Google Flow AI Tutorial — Step by Step 2026
- What Is Google Flow AI? Complete Guide
- Google Veo AI Complete Guide
- What Is Google Whisk AI?
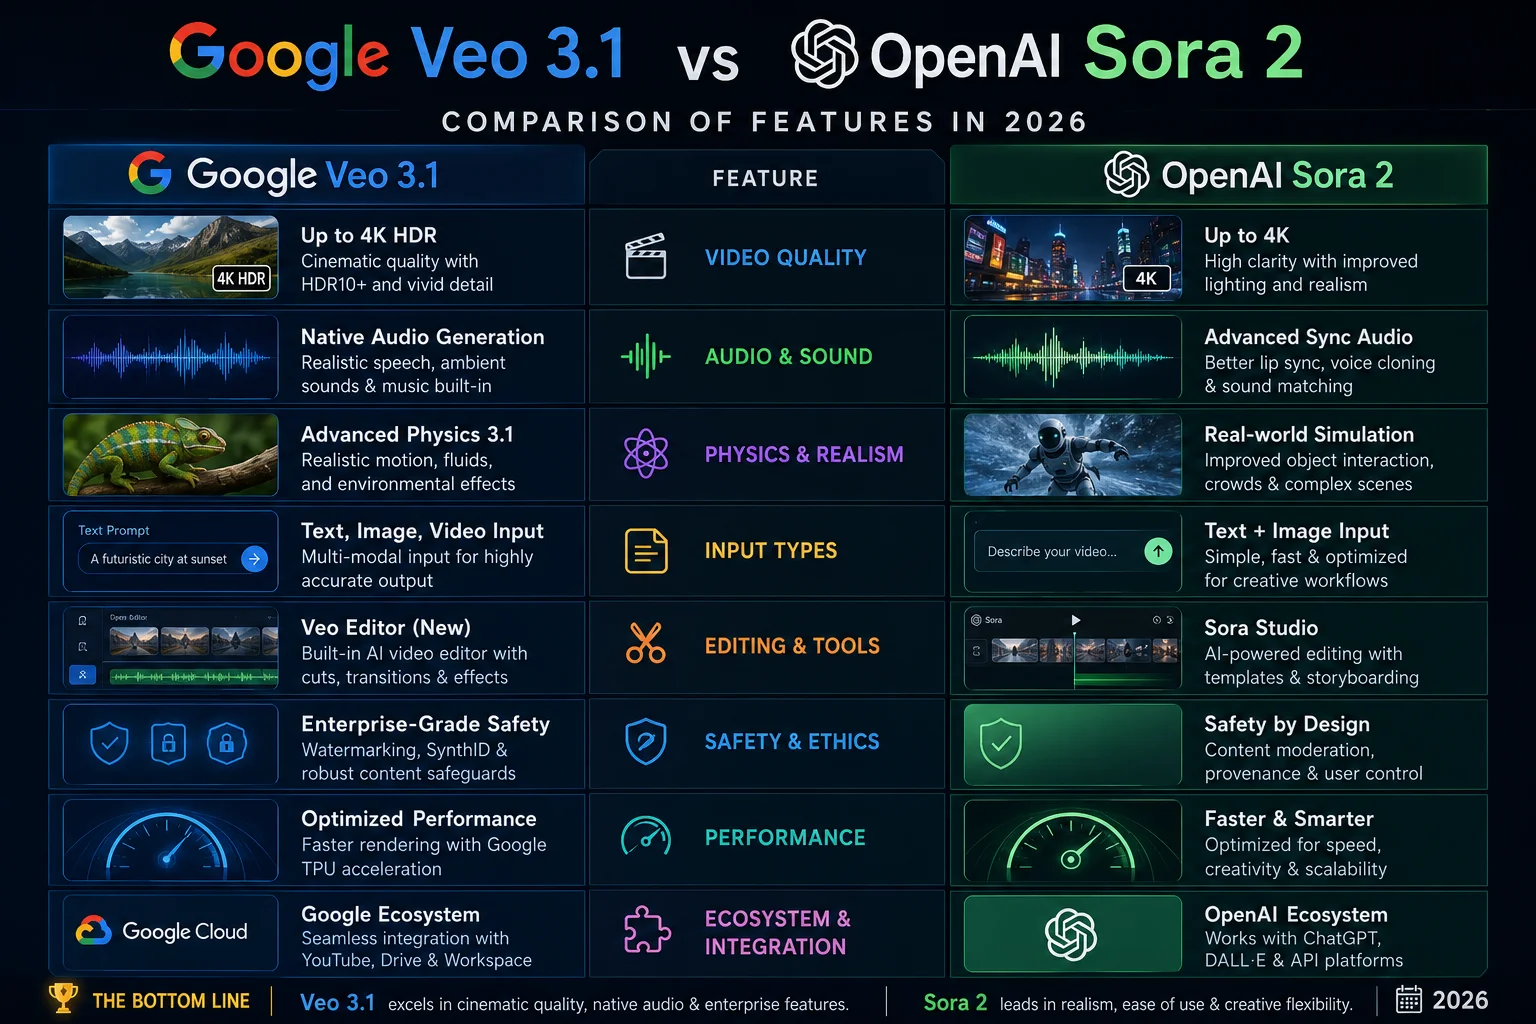
- Veo 3.1 vs Sora 2 Comparison 2026
- Google Flow AI Mobile App 2026
- Pakistan Access Guide for Google AI
- Whisk AI Not Working? Fix Guide
- News & Updates — WhiskAILabs
Official External Sources:
- Google Flow AI — flow.google
- Google Blog: I/O 2026 — 100 Announcements
- Google DeepMind SynthID
- Google DeepMind
- Android Authority: Gemini Avatar Rollout

AI tools researcher aur content creator hoon. Google Whisk AI, Google Flow AI aur image generation tools par actively kaam karta hoon. WhiskAILabs.net ka founder hoon jahan AI tools ko simple aur asaan andaaz mein explain kiya jata hai.