
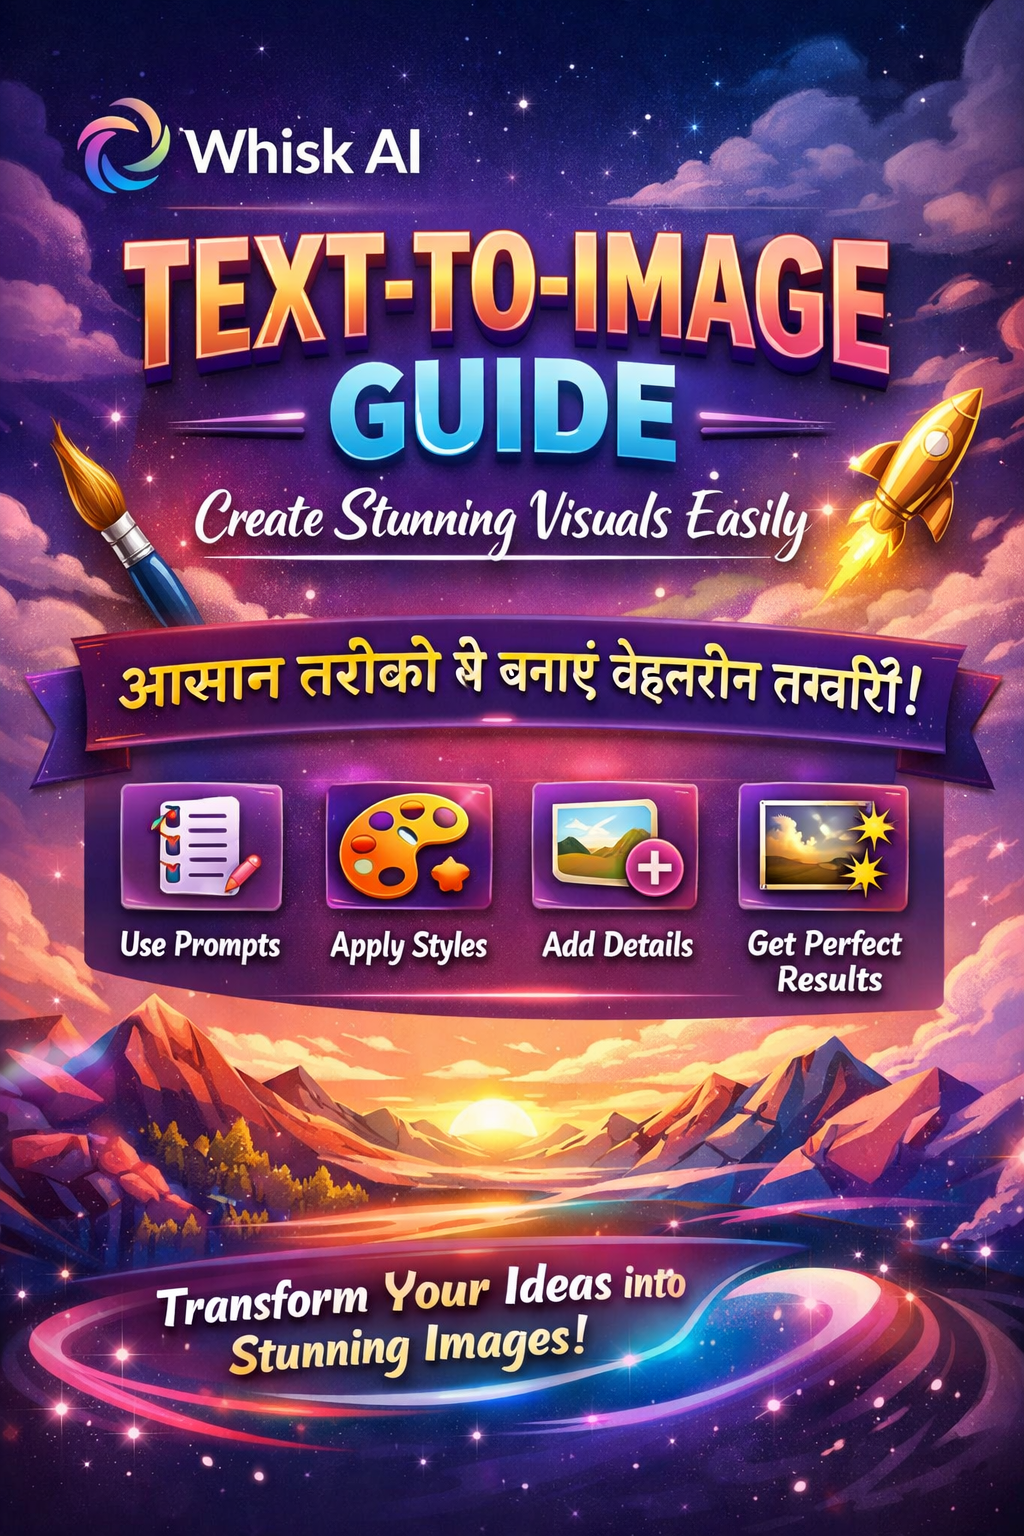
Whisk AI Text-to-Image Guide: Create Stunning Visuals Easily (2026)
If you’ve ever wanted to turn words into pictures, then Whisk AI Text-to-Image is exactly what you need. When I first tried Whisk AI Text-to-Image, I wasn’t sure what to expect — would the AI understand my ideas? To my surprise, Whisk AI Text-to-Image worked beautifully and made creating visuals fun and simple, even for a beginner like me.
This guide is designed to be easy, practical, and friendly. By the end, you’ll understand:
-
What Whisk AI Text-to-Image is and why it’s useful
-
How to create images step by step with Whisk AI Text-to-Image
-
How to write prompts that produce stunning results using Whisk AI Text-to-Image
-
Beginner-friendly tips, templates, and examples for Whisk AI Text-to-Image
-
Common mistakes and how to avoid them when using Whisk AI Text-to-Image
Think of this as a conversation with a friend who’s been experimenting with Whisk AI Text-to-Image — no jargon, no stress, just practical advice. By following this guide, you’ll be able to confidently turn your ideas into amazing visuals with Whisk AI Text-to-Image in no time.
What Is Whisk AI Text-to-Image?
Whisk AI Text-to-Image is an AI tool that converts your text descriptions into visuals. You simply type what you imagine, and the AI interprets it to create a picture.
I loved it because:
-
It has a clean, intuitive interface
-
No design or technical skills are required
-
You can experiment freely without worrying about mistakes
-
Images are generated almost instantly
If you want to dig deeper, check out What is Whisk AI for a beginner-friendly overview of its features.
How Whisk AI Text-to-Image Works
Even if you’ve never used AI before, the process is straightforward:
-
Write a description of your idea in plain language
-
Whisk AI interprets your text to understand the subject, setting, and mood
-
Receive your image in seconds
From my experience, small changes in wording can completely change the result. For example, “misty mountains” gave a softer vibe than “foggy mountains.” Experimenting is the key to learning.
Why Beginners Should Use Whisk AI Text-to-Image
What sets Whisk AI Text-to-Image apart from other AI tools is its focus on beginners. Here’s why I recommend it:
-
You can turn ideas into visuals quickly
-
It helps you understand how AI interprets natural language
-
You can explore different styles without feeling overwhelmed
-
Your visual creativity grows gradually with practice
Writing Effective Prompts for Stunning Results
Crafting the right prompt is essential. I’ve learned that the most effective prompts are:
-
Clear and concise – don’t overcomplicate your description
-
Descriptive – include the main subject, environment, and mood
-
Focused – one scene or idea per prompt works best
Example I used:
“A peaceful mountain lake at sunrise with soft mist and warm reflections”
This produced a visual almost exactly like I imagined — calm, serene, and perfect for a beginner.
Using Styles to Enhance Your Visuals
Styles can dramatically change your results. Whisk AI Text-to-Image offers: realistic, cinematic, cartoon, and abstract styles.
Here’s what I learned:
-
Start with neutral or realistic styles
-
Experiment with descriptive mood words like warm, vibrant, calm, dramatic
-
Avoid mixing too many styles at once
Changing just one word in a prompt can result in a completely different mood, so take time to test variations.
Templates: A Beginner’s Shortcut
Templates are pre-structured prompts that make creating visuals easier. They help beginners:
-
Save time
-
Learn effective prompt patterns
-
Create better visuals faster
I used templates for landscapes, characters, and abstract designs. If you’re unsure where to start, Whisk AI templates are a lifesaver.
Inspiring Examples for Beginners
Seeing examples teaches a lot. I often browse Whisk AI examples to learn new techniques.
Even small tweaks — like switching “sunrise” to “sunset” — can create dramatically different visuals. Watching these changes helped me understand how the AI interprets words.
Common Beginner Mistakes
From my own experience, beginners often:
-
Write overly long prompts
-
Copy prompts without adjusting them
-
Expect perfection immediately
-
Change too many variables at once
Instead, I suggest starting with short prompts, experimenting gradually, and observing how the AI interprets your text.
Is Whisk AI Safe for Beginners?
Absolutely. When used responsibly, Whisk AI Text-to-Image is safe:
-
Treat AI-generated images as creative content, not factual evidence
-
Review outputs before publishing
-
Follow ethical AI guidelines
For additional guidance, check:
Limitations to Keep in Mind
Even though it’s beginner-friendly, some limitations exist:
-
Complex scenes may require several attempts
-
AI interprets text creatively, not literally
-
Some details might be inaccurate
Despite this, Whisk AI Text-to-Image is an excellent tool for turning ideas into visuals quickly.
Why Whisk AI Text-to-Image Matters in 2026
Visual content is crucial in 2026. With this tool, beginners can:
-
Produce professional-looking visuals
-
Experiment and improve quickly
-
Save time over manual design
-
Develop creativity while learning
Final Tips for Beginners
-
Keep prompts short and clear
-
Use templates to speed up learning
-
Experiment gradually with styles and moods
-
Observe, refine, and enjoy the process
Creating stunning visuals with Whisk AI Text-to-Image is about exploration, not perfection. Have fun with it!


1 thought on “Whisk AI Text-to-Image Guide: Create Stunning Visuals Easily”
thanks